Facebook Pixel

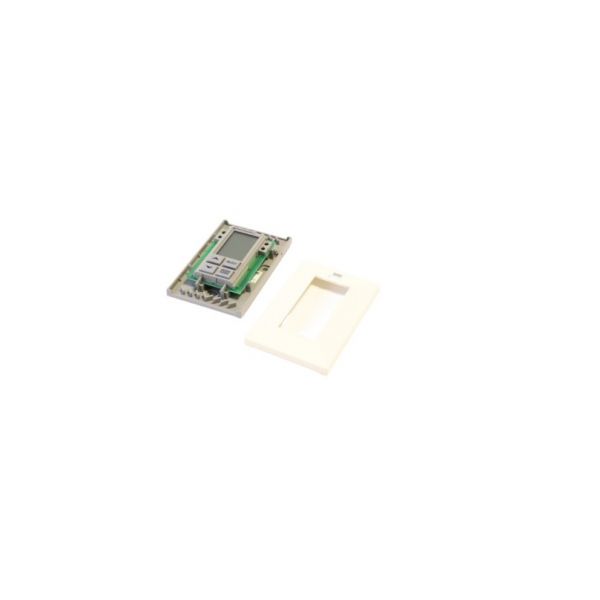
Schneider Electric (Micronet) MN-SDK-R Refurbished Sensor W/Display

Special Price $348.84 Regular Price $387.21
In stock
SKU
MN-SDK-R
​The Schneider Electric (Micronet) MN-SDK-R Refurbished Sensor with Display is a digital room sensor which is used in air conditioning systems. Indoor environment is specified with capabilities to measure the ambient temperature and, depending on the model, humidity for optimal environmental comfort and energy use. This comes with a four-button keypad and a digital liquid crystal display that enables to change setpoints, select modes of operation, and set override for unoccupied settings for a given time period to suit their needs for climate control. This sensor is designed to be compatible with fan coil units and air handling systems.

https://www.partshnc.com/media/catalog/product/m/n/mn-sdk-r.jpg

Specifications

  • Type: Sensor
    Manufacturer Name: Schneider Electric (Micronet)
    Product Number: MN-SDK-R
    OEM Part Number: MN-SDK-R
    Product Description: Refurbished Sensor W/Display
    Weight:0.21lbs/95.25g

    Choose the best HVAC equipment parts and supplies from PartsHnC!

    • Same Day Shipping

    • Best Quality And Best Price

    • Wide Range of Inventory

    • Best Customer Service

    Have More Questions or Need Help to Place The Order?
    Reach us at (866)773-0907 or [email protected]

    Write Your Own Review
    You're reviewing:Schneider Electric (Micronet) MN-SDK-R Refurbished Sensor W/Display
    Your Rating
    Customer Questions
    What maintenance is required for the Schneider Electric (Micronet) MN-SDK-R Refurbished Sensor?

    Regularly clean the sensor’s display and housing with a soft, dry cloth to prevent dust buildup. Check calibration periodically to ensure accurate readings. Inspect for signs of wear or corrosion, and avoid exposure to extreme temperatures or moisture to prolong functionality and safety.

    What are common issues with the Schneider Electric (Micronet) MN-SDK-R Refurbished Sensor?

    • Display malfunctions or dimming.
    • Sensor inaccuracies or drift.
    • Loose or corroded electrical connections.
    • Failure to respond to environmental changes.

    Installation Steps

    Step1: Turn off power to the system before installation.

    Step2: Remove the existing sensor/display assembly if present.

    Step3: Mount the new sensor in the designated location.

    Step4: Connect wiring to matching terminals on the unit.

    Step5: Secure the display and ensure sensor alignment.

    Step6: Restore power and verify display readings and sensor function.