Facebook Pixel

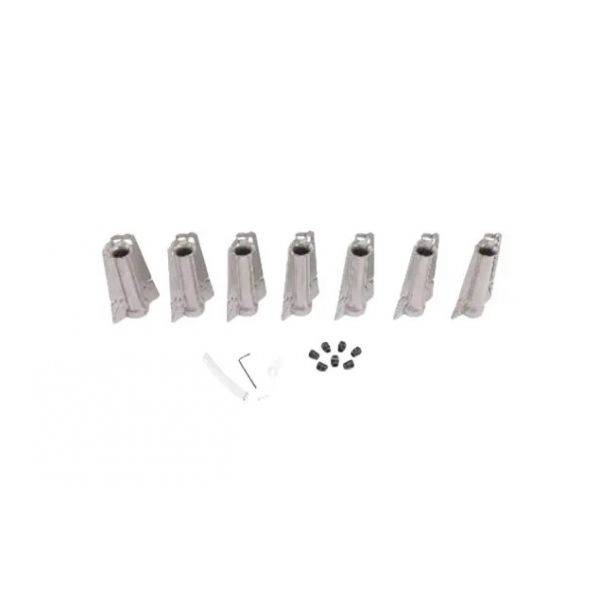
Trane BAYLPSS210B LP Conversion Kit

Special Price $186.68 Regular Price $214.68
In stock
SKU
BAYLPSS210B
The Trane BAYLPSS210B is an LP Conversion Kit (change kit) that is used to change the HVAC system of propane gas from natural gas. It probably contains the parts needed to set the gas pressure regulation, and/or the burner orifice, and perhaps other items. They help adjust the system to burn propane safely and effectively in the organization. Propane has its benefits as it is said that fuel from propane is cheaper in some areas and more easily accessible than in others. But the fact is these conversions should not be performed by a professional HVAC technician to ensure the right operations to the device are followed alongside safety considerations.
Manufacturer:

https://www.partshnc.com/media/catalog/product/b/a/baylpss210b.jpg

Specifications

  • Weight:3.01 lbs
    Manufacturer Name: Trane
    Product Number: BAYLPSS210B
    OEM Part Number: BAYLPSS210B
    Product Description: Lp Conversion Kit
    Weight:3.01lbs/1365.31g

    Choose the best HVAC equipment parts and supplies from PartsHnC!

    • Same Day Shipping

    • Best Quality And Best Price

    • Wide Range of Inventory

    • Best Customer Service

    Have More Questions or Need Help to Place The Order?
    Reach us at (866)773-0907 or [email protected]

    Write Your Own Review
    You're reviewing:Trane BAYLPSS210B LP Conversion Kit
    Your Rating
    Customer Questions
    What maintenance is required for the Trane BAYLPSS210B Conversion Kit?

    Regularly inspect the conversion kit components for dust, debris, and secure fittings. Ensure all connections are properly tightened and free from leaks. Follow safety precautions when handling gas or pressurized components. Proper care ensures safe and efficient LP operation.

    What are common issues with the Trane BAYLPSS210B Conversion Kit?

    • Improper conversion causing incorrect gas pressure.
    • Leaks at connection points.
    • Difficulty starting or unstable burner operation.
    • Loose or misaligned components affecting performance.

    Installation Steps

    Step 1: Turn off the gas supply and power before starting.

    Step 2: Remove the existing orifice and regulator components as instructed in the kit guide.

    Step 3: Install the kit components in the correct positions, replacing old parts

    Step 4: Reconnect gas lines and ensure all fittings are tight to prevent leaks.

    Step 5: Restore gas and power, then follow the kit instructions check for proper operation.