Facebook Pixel

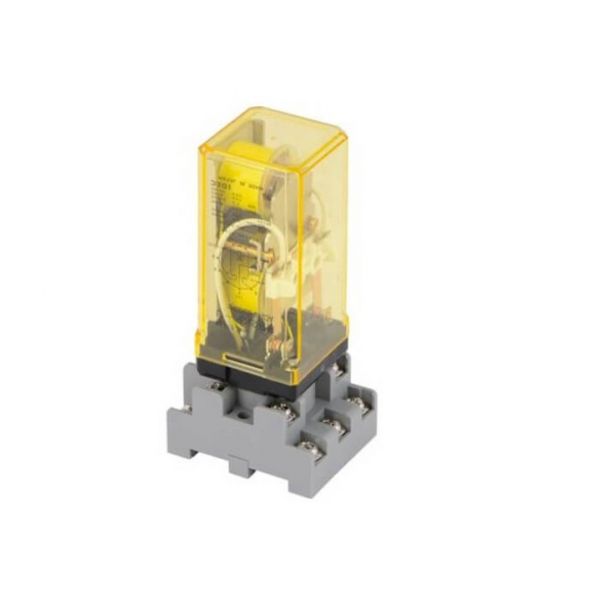
Lennox 81G65 Latching Relay

Special Price $230.51 Regular Price $255.87
In stock
SKU
81G65
The Lennox 81G65 Latching Relay is an original replacement part for your Lennox HVAC system equipment. This DPDT relay is wide and is like a switch that helps to control the flow of electricity in your equipment. A control signal is received and a switch inside is turned on or off to turn a circuit on or off. This is because a defective relay can lead to a power cut to other parts of your HVAC system. This relay is used to replace a faulty relay so that the correct flow of electricity is achieved and normal function and efficiency for your Lennox equipment are maintained.
Manufacturer:

https://www.partshnc.com/media/catalog/product/8/1/81g65.jpg

Specifications

  • Measure: Units
  • Depth: 2.16 Inch
  • Height: 1.66 Inch
  • Width: 3.16 Inch
  • Type of Product: DPDT
  • Frequency: 50/60Hz
  • Weight: 0.54lbs
Manufacturer Name: Lennox
Product Number: 81G65
OEM Part Number: 81G65
Product Description: Latching Relay
Weight:0.54lbs/244.94g

Choose the best HVAC equipment parts and supplies from PartsHnC!

  • Same Day Shipping

  • Best Quality And Best Price

  • Wide Range of Inventory

  • Best Customer Service

Have More Questions or Need Help to Place The Order?
Reach us at (866)773-0907 or [email protected]

Write Your Own Review
You're reviewing:Lennox 81G65 Latching Relay
Your Rating
Customer Questions
What maintenance is required for the Lennox 81G65 Latching Relay?

Regularly inspect the relay for dust, corrosion, or loose connections. Ensure terminals are secure and free from debris. Follow proper electrical safety precautions when handling the relay. Proper maintenance ensures accurate switching and prevents electrical malfunctions.

What are common issues with the Lennox 81G65 Latching Relay?

  • Relay failing to switch or sticking in one position.
  • Loose or worn contact connections.
  • Overheating of contacts or terminals.
  • Audible clicking or buzzing during operation.

Installation Steps

Step 1: Power off the HVAC system before beginning installation.

Step 2: Identify the existing relay in the control panel and carefully disconnect wiring.

Step 3: Mount the new relay in the designated relay slot or secure location.

Step 4: Reconnect wires following the original configuration or wiring diagram.

Step 5: Ensure all connections are tight and no bare wires are exposed.

Step 6: Restore power and test the system to confirm the relay latches and operates correctly.