Facebook Pixel

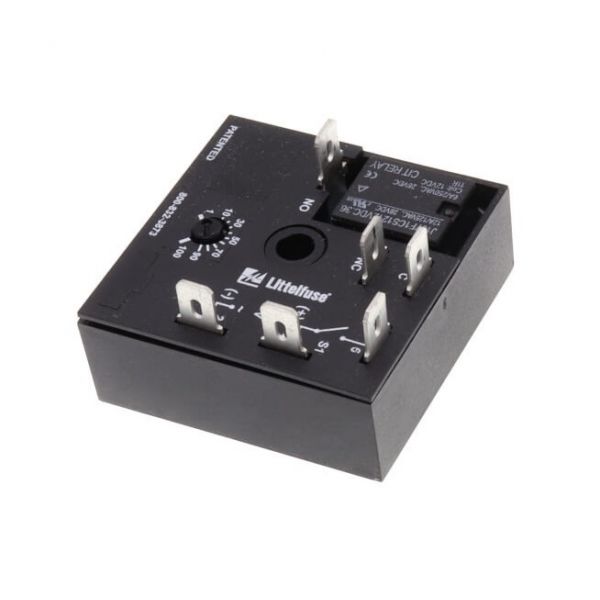
Littelfuse KRDB424 Delay-On-Break W/Relay 2" X 2"

Special Price $84.70 Regular Price $97.41
In stock
SKU
KRDB424
The Littelfuse KRDB424 Delay-On-Break relay is used in HVAC system applications and has dimensions of 2 x 2 inches. It has a microcontroller-based timing circuit that enables a time delay from 1 to 100 minutes at 120 VAC to control the equipment accurately. This relay is specifically useful in controlling the operations of the compressor and eliminating short cycling in HVAC systems, increasing energy conservation and product durability. It is shock and humidity-resistant, and the SPDT output contacts are isolated to handle different types of loads. The advantages are increased dependability, less stress on the parts, and increased safety in a variety of Tough conditions.
Manufacturer:

https://www.partshnc.com/media/catalog/product/k/r/krdb424.jpg

Specifications

  • Type: Delay-On-Break
  • Size: 2" X 2"
Manufacturer Name: Littelfuse
Product Number: KRDB424
OEM Part Number: KRDB424
Product Description: 2X2 D.O.B. W/Relay
Weight:0.24lbs/108.86g

Choose the best HVAC equipment parts and supplies from PartsHnC!

  • Same Day Shipping

  • Best Quality And Best Price

  • Wide Range of Inventory

  • Best Customer Service

Have More Questions or Need Help to Place The Order?
Reach us at (866)773-0907 or [email protected]

Write Your Own Review
You're reviewing:Littelfuse KRDB424 Delay-On-Break W/Relay 2" X 2"
Your Rating
Customer Questions
What maintenance is required for the Littelfuse KRDB424 Delay‑On‑Break With Relay?

Regularly inspect the relay and delay‑on‑break unit for dust, corrosion, or loose terminals and clean gently. Check that mounting and wiring are secure. Testing operation periodically ensures accurate switching and prevents unexpected failures.

What are common issues with the Littelfuse KRDB424 Delay‑On‑Break With Relay?

  • Erratic switching timing.
  • Contacts pitting or wear.
  • Loose or damaged wiring terminals.
  • Relay coil failing to energize.

Installation Steps

Step 1: Turn off all power to the circuit before installation to prevent shock.

Step 2: Mount the relay on a stable surface using screws or panel slots.

Step 3: Connect input and output wires according to the wiring diagram on the unit.

Step 4: Set the desired delay time using the adjustment knob or dial.

Step 5: Double-check all connections and ensure no exposed wires remain.

Step 6: Restore power and test the relay for proper timing and operation.