Facebook Pixel

Carrier KFADC0401ACL Downflow Conversion Kit

Special Price $380.82 Regular Price $422.71
In stock
SKU
KFADC0401ACL
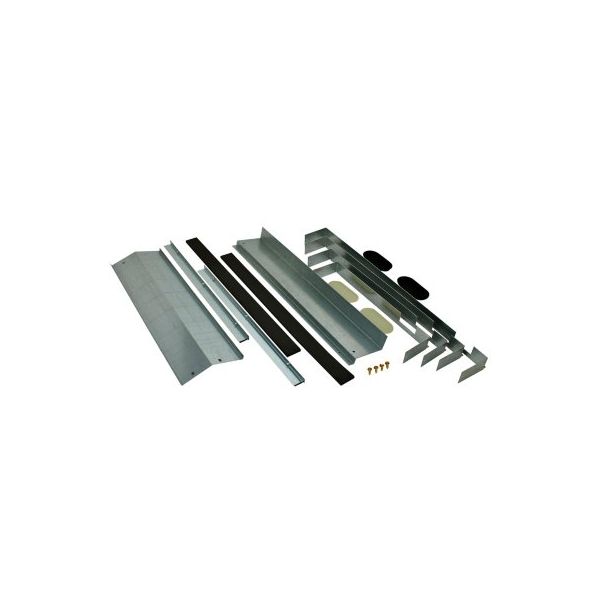
The Carrier KFADC0401ACL Downflow Conversion Kit is a specific part that changes the HVAC systems to a downflow airflow. It mainly intends to rebalance the airflow within compatible HVAC units by directing the air downwards effectively. This conversion kit improves the efficiency of the system by providing improved airflow and temperature regulation. Due to its small size and specific measurements, it can be easily installed and provides users with better comfort and energy savings. In homes or business establishments, this kit optimizes the distribution of air, making the indoor climate more pleasant, and at the same time, saving on energy expenses.
Manufacturer:
https://www.partshnc.com/media/catalog/product/k/f/kfadc0401acl_carrier_partshnc.jpg

Specifications

  • Weight: 12.65lbs
  • Air Flow Direction: Downflow
  • Length: 6 "
  • Width: 3 "
  • Height: 24 "
Manufacturer Name: Carrier
Product Number: KFADC0401ACL
OEM Part Number: KFADC0401ACL
Product Description: Downflow Conversion Kit
Weight:6.14lbs/2785.05g

Choose the best HVAC equipment parts and supplies from PartsHnC!

  • Same Day Shipping

  • Best Quality And Best Price

  • Wide Range of Inventory

  • Best Customer Service

Have More Questions or Need Help to Place The Order?
Reach us at (866)773-0907 or [email protected]

Write Your Own Review
You're reviewing:Carrier KFADC0401ACL Downflow Conversion Kit
Your Rating
Customer Questions
What maintenance is required for the Carrier KFADC0401ACL Downflow Conversion Kit?

Inspect the conversion kit regularly for dust buildup, loose fasteners, and proper alignment with the system unit. Clean components gently to prevent airflow restriction and maintain efficiency. Periodic checks ensure safe operation and help avoid strain on connected system parts over time.

What are common issues with the Carrier KFADC0401ACL Downflow Conversion Kit?

  • Improper airflow direction after installation.
  • Loose fittings causing air leaks or vibration.
  • Misalignment with system cabinet reducing efficiency.
  • Dust buildup restricting airflow and system performance.
  • Installation errors leading to uneven cooling or heating distribution.

Installation Steps

Step 1: Turn off power and apply lockout/tagout.

Step 2: Remove coil section and existing old conversion supports.

Step 3: Install new conversion brackets, straps, gaskets, and plugs.

Step 4: Reposition air handler into downflow orientation securely.

Step 5: Seal ducts, ensure proper airflow direction and drainage.

Step 6: Restore power and test operation for leaks or issues.

Step 7: Check condensate drain slope and safety before start.