
Facebook Pixel

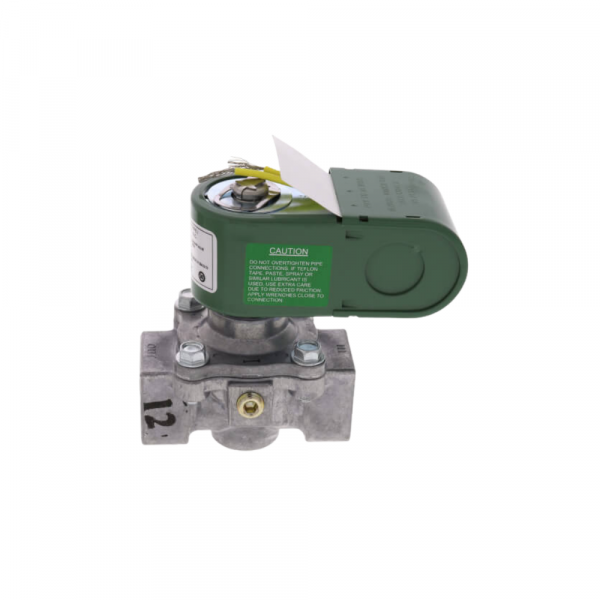
ASCO K3A551V 3/4" N/C Gas Shutoff Solenoid Valve Max 3 PSI 24V

Special Price $257.87 Regular Price $286.23
In stock
SKU
K3A551V
The ASCO K3A551V 3/4” N/C Gas Shutoff Solenoid Valve used for commercial and industrial HVAC systems. This 2-way normally closed valve is used to regulate the flow of natural gas, and offer a positive shut-off of pilot or main gas lines. It operates at maximum pressure of 3 PSI and is powered by 24V DC; it has die cast aluminum body that can handle ambient temperatures of up to 175°F. The opening and closing time of the valve is less than one second improving system efficiency which makes the valve essential for HVAC systems in gas burners.
Manufacturer:

https://www.partshnc.com/media/catalog/product/k/3/k3a551v_2.png

Specifications

  • Type: Gas Shutoff Solenoid Valve
  • Connection Size: 3/4"
  • Valve Type: 2-way Normally Closed
  • Pressure: 3 PSI
  • Voltage: 24V
Manufacturer Name: ASCO
Product Number: K3A551V
OEM Part Number: K3A551V
Product Description: 3/4" 24V Nc 3# Max Gas Vlv
Weight:1.77lbs/802.86g

Choose the best HVAC equipment parts and supplies from PartsHnC!

  • Same Day Shipping

  • Best Quality And Best Price

  • Wide Range of Inventory

  • Best Customer Service

Have More Questions or Need Help to Place The Order?
Reach us at (866)773-0907 or [email protected]

Write Your Own Review
You're reviewing:ASCO K3A551V 3/4" N/C Gas Shutoff Solenoid Valve Max 3 PSI 24V
Your Rating
Customer Questions
What maintenance is required for the ASCO K3A551V Solenoid Valve?

Regularly inspect the valve for dirt, dust, or corrosion. Test operation to ensure proper opening and closing. Clean the valve internals if needed and ensure electrical connections are secure for safe gas flow control.

What are common issues with the ASCO K3A551V Solenoid Valve?

  • Failure to open or close properly.
  • Coil burnout or electrical issues.
  • Leaks at valve seals.
  • Sticking due to debris or corrosion.

Installation Steps

Step 1: Turn off gas supply and electrical power; verify zero pressure in line.

Step 2: Install new valve in correct flow direction using thread sealant rated for gas.

Step 3: Secure connections and mount coil upright if required.

Step 4: Wire coil per schematic, ensuring proper grounding.

Step 5: Restore pressure, energize system, and leak test all joints with approved solution.