Facebook Pixel

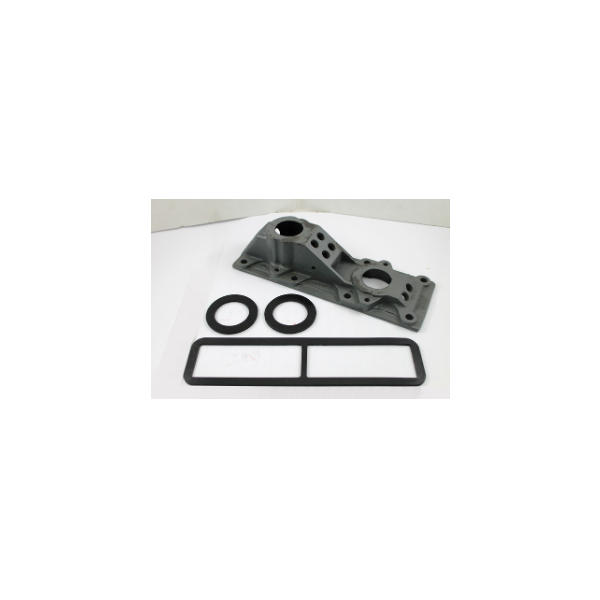
Laars Heating Systems R10364504 Inlet/Outlet Glass-Lined Header

Special Price $519.91 Regular Price $577.10
In stock
SKU
R10364504

The Laars Heating Systems R10364504 Inlet/Outlet Glass-lined Header is an essential component for hydronic heating systems. This distributes warm water efficiently to different areas of your building by channeling it throughout the system. This is the manner in which it operates: The header's inlet receives hot water from the boiler. The glass lining in this header resists corrosion and effectively distributes heat throughout its body. After leaving the outlets, the heated water connects to separate heating loops that provide warmth to radiant floor heating systems, convector heaters, and radiators. Boilers, zone valves, circulators, and other HVAC equipment are compatible with the Laars Heating Systems R10364504 Inlet/Outlet Glass-lined Header.

https://www.partshnc.com/media/catalog/product/r/1/r10364504_laars-heating-systems_partshnc.png
Manufacturer Name: Laars Heating Systems
Product Number: R10364504
OEM Part Number: R10364504
Product Description: Inlet/Outlet Glasslinedheader
Weight:17.27lbs/7833.53g

Choose the best HVAC equipment parts and supplies from PartsHnC!

  • Same Day Shipping

  • Best Quality And Best Price

  • Wide Range of Inventory

  • Best Customer Service

Have More Questions or Need Help to Place The Order?
Reach us at (866)773-0907 or [email protected]

Write Your Own Review
You're reviewing:Laars Heating Systems R10364504 Inlet/Outlet Glass-Lined Header
Your Rating
Customer Questions
What maintenance is required for the Laars Heating Systems R10364504 Inlet/Outlet Glass-Lined Header?

Inspect the header regularly for scaling, corrosion, and leaks in inlet and outlet connections. Flush the system to prevent mineral buildup inside the glass lining. Ensure proper gasket sealing and tighten fittings during scheduled boiler servicing.

What are common issues with the Laars Heating Systems R10364504 Inlet/Outlet Glass-Lined Header?

  • Internal glass lining degradation from chemical exposure.
  • Leakage at inlet or outlet joints.
  • Sediment or scale buildup restricting flow.
  • Cracks in header due to thermal stress.
  • Poor sealing causing pressure loss.

Installation Steps

Step 1: Turn off system power and isolate water supply for safety before starting.

Step 2: Drain boiler loop fully before removing old header and release pressure.

Step 3: Remove existing inlet/outlet header and clean mating surfaces gently.

Step 4: Position new header and align ports carefully for proper fit.

Step 5: Tighten fittings to manufacturer torque specs and reconnect piping for secure connections.

Step 6: Restore water supply, check for leaks, then restart system.