Facebook Pixel

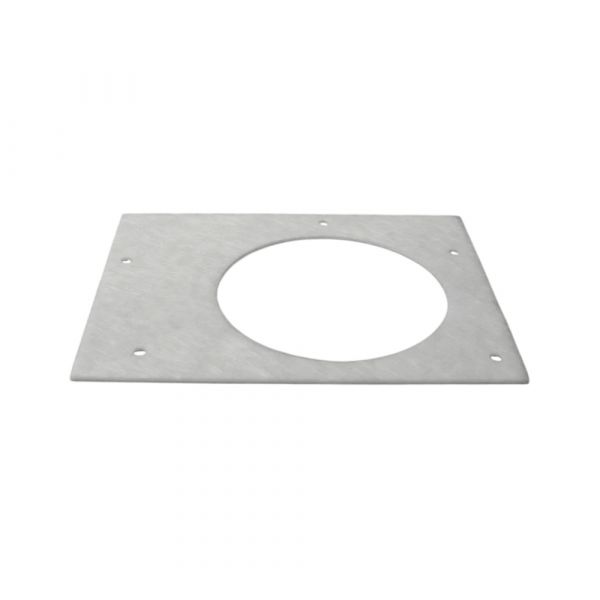
Utica-Dunkirk 3571501 Inducer Gasket

Special Price $10.52 Regular Price $13.68
In stock
SKU
3571501
The Utica-Dunkirk 3571501 Inducer Gasket is a sealing element to stop air and gas escapes through the draft inducer assembly and surrounding surfaces used in the HVAC combustion systems. Its main role is to loose fit to variations in temperature and pressure to keep the airflow of combustion within the heat exchanger and venting path. It is placed between mating surfaces of the inducer housing with the surrounding sheet metal, and compresses to create a dependable seal. It can be used in furnaces and boilers where it is necessary to ensure effective operations.
https://www.partshnc.com/media/catalog/product/3/5/3571501.jpg
Manufacturer Name: Utica-Dunkirk
Product Number: 3571501
OEM Part Number: 3571501
Product Description: Inducer Gasket
Weight:0.03lbs/13.61g

Choose the best HVAC equipment parts and supplies from PartsHnC!

  • Same Day Shipping

  • Best Quality And Best Price

  • Wide Range of Inventory

  • Best Customer Service

Have More Questions or Need Help to Place The Order?
Reach us at (866)773-0907 or [email protected]

Write Your Own Review
You're reviewing:Utica-Dunkirk 3571501 Inducer Gasket
Your Rating
Customer Questions
What maintenance is required for the Utica-Dunkirk 3571501 Inducer Gasket?

Inspect the gasket during routine service to ensure it remains intact and properly seated between mating surfaces. Check for heat hardening, cracking, or compression loss that could affect sealing. Replace it whenever the inducer assembly is removed to maintain proper vent pressure integrity.

What are common issues with the Utica-Dunkirk 3571501 Inducer Gasket?

  • Air or flue gas leakage at inducer joint.
  • Loss of seal due to compression damage.
  • Improper seating after reassembly.
  • Heat damage causing deformation.

Installation Steps

Step 1: Turn off power to the unit and shut gas supply, allow system to cool before starting.

Step 2: Remove access panel and locate inducer assembly housing, secure area.

Step 3: Remove old gasket and clean mating surfaces thoroughly.

Step 4: Place new gasket, align holes, ensure proper seating, check alignment carefully.

Step 5: Reinstall components, tighten fasteners evenly to avoid leaks, do not overtighten.

Step 6: Restore power and gas, then test operation for leaks, check airflow stability.