Facebook Pixel

Trane HOD0519 Hood

Special Price $82.72 Regular Price $95.13
In stock
SKU
HOD0519
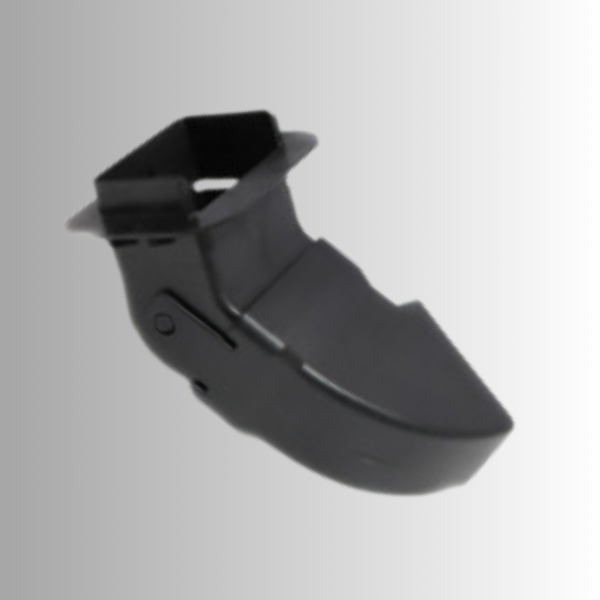
The Trane HOD0519 hood is designed for use only with Trane heating and cooling systems, especially furnaces. Some of the parts that are electrical wirings, heat exchangers, and burners so the hood acts as a cover for such parts. This will help your Trane furnace last longer and prove to run effectively by shielding these elements, It may also be able to help minimize the amount of noise that the furnace produces while in operation, and thus operate more quietly. The fact that it is made directly by Trane ensures you are certain this part will fit your Trane HVAC system and installing it is easy.
Manufacturer:
https://www.partshnc.com/media/catalog/product/h/o/hod0519_trane_partshnc.jpg

Specifications

  • Weight: 0.94lbs
    Manufacturer Name: Trane
    Product Number: HOD0519
    OEM Part Number: HOD0519
    Product Description: Hood
    Weight:0.94lbs/426.38g

    Choose the best HVAC equipment parts and supplies from PartsHnC!

    • Same Day Shipping

    • Best Quality And Best Price

    • Wide Range of Inventory

    • Best Customer Service

    Have More Questions or Need Help to Place The Order?
    Reach us at (866)773-0907 or [email protected]

    Write Your Own Review
    You're reviewing:Trane HOD0519 Hood
    Your Rating
    Customer Questions
    What maintenance is required for the Trane HOD0519 Hood?

    Regularly inspect the hood for dust, debris, or corrosion. Clean the interior and exterior surfaces with a mild detergent and ensure proper mounting and ventilation. Proper maintenance maintains airflow efficiency and safe operation.

    What are common issues with the Trane HOD0519 Hood?

    • Accumulation of dust or debris.
    • Corrosion or rust on metal surfaces.
    • Loose or misaligned mounting.
    • Physical damage from impact or wear.

    Installation Steps

    Step1: Turn off power to the unit before starting installation.

    Step2: Remove the old hood assembly and clean the mounting area.

    Step3: Position the new hood and align it with mounting holes.

    Step4: Secure the hood with proper fasteners and tighten evenly.

    Step5: Restore power and test airflow or clearance to ensure proper fit.