Facebook Pixel

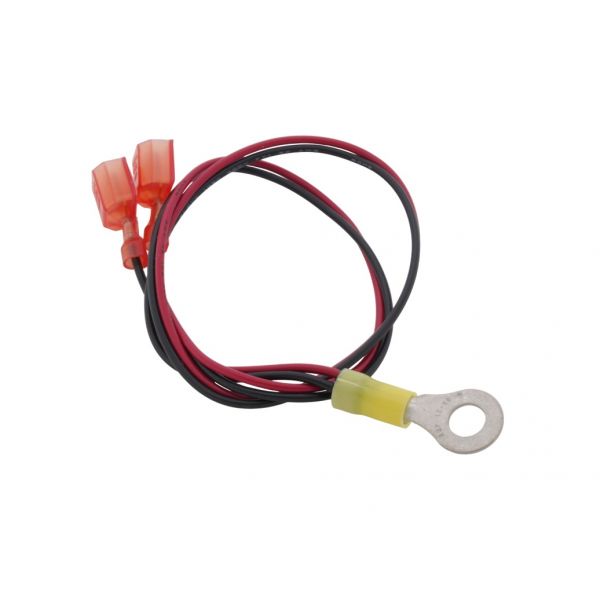
Carrier HH79NZ039 OAT/SAT/RAT/EDT Sensor

Special Price $37.74 Regular Price $41.95
In stock
SKU
HH79NZ039
The Carrier HH79NZ039 OAT/SAT/RAT/EDT Sensor is an all-purpose device intended for accurate measurement of the climate in HVAC systems. This sensor records Outdoor Air Temperature, Supply Air Temperature, and Return Air Temperature. Measuring 3 inches in, 2.9 inches in, and 0.6 inches in thickness this sensor works based on the temperature change within the surrounding air to feed the accurate data required for HVAC control systems to regulate heat and cold. It is widely used in commercial and residential heating, ventilating, and air conditioning systems to provide precise climate control and distinctive energy savings.
https://www.partshnc.com/media/catalog/product/h/h/hh79nz039.jpg

Specifications

  • Length: 3 "
  • Width: 2.9 "
  • Height: 0.6 "
  • Weight: 0.07 Lbs
Manufacturer Name: Carrier
Product Number: HH79NZ039
OEM Part Number: HH79NZ039
Product Description: Oat/Sat/Rat/Edt Sensor
Weight:0.07lbs/31.75g

Choose the best HVAC equipment parts and supplies from PartsHnC!

  • Same Day Shipping

  • Best Quality And Best Price

  • Wide Range of Inventory

  • Best Customer Service

Have More Questions or Need Help to Place The Order?
Reach us at (866)773-0907 or [email protected]

Write Your Own Review
You're reviewing:Carrier HH79NZ039 OAT/SAT/RAT/EDT Sensor
Your Rating
Customer Questions
What maintenance is required for the Carrier HH79NZ039 Sensor?

Keep sensor clean and free of dust for accurate temperature readings. Inspect wiring connections regularly for looseness or corrosion and tighten if needed. Ensure proper placement in airflow for stable HVAC performance and safety.

What are common issues with the Carrier HH79NZ039 Sensor?

  • inaccurate temperature readings due to dirt or misalignment.
  • wiring or connection faults causing intermittent signal loss.
  • sensor drift leading to inconsistent HVAC control.
  • exposure to moisture causing corrosion or faulty readings.

Installation Steps

Step 1: Power off HVAC system at breaker to prevent shock.

Step 2: Select suitable duct or outdoor location for accurate sensing.

Step 3: Open sensor housing and carefully remove the cover.

Step 4: Mount base securely using screws on flat surface.

Step 5: Connect wires to matching terminals as per wiring diagram.

Step 6: Reinstall cover, ensure seal, and secure conduit entry.

Step 7: Restore power and check readings on controller display.