
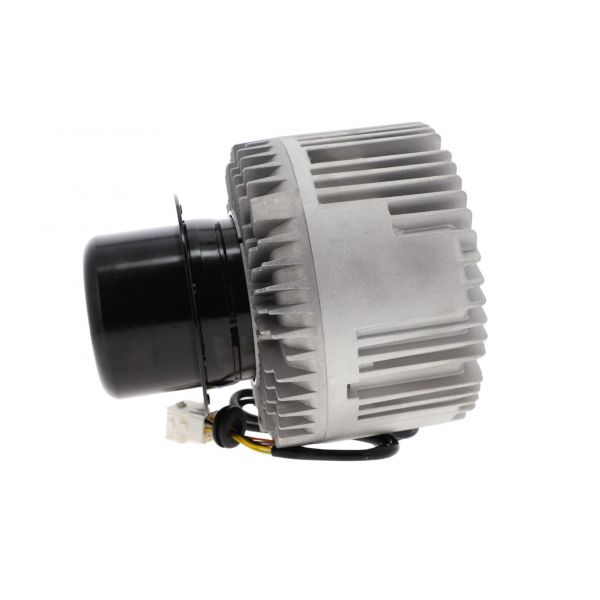
Carrier HC52JQ231 Blower Motor 208-230V
Specifications
- Length: 12.65 "
- Width: 14.6 "
- Height: 11.8 "
- Weight: 18.53lbs
- Voltage: 208-230V
- Frequency: 50/60 Hz
Loyalty ProgramBlower assemblies depend on a dedicated motor to provide the mechanical drive needed for air circulation. The Carrier HC52JQ231 is a blower motor that supplies rotational movement to the connected blower within Carrier HVAC systems. Its motor-driven output supports the blower assembly's required air-moving function during operation.
Electrical Input and Motor Operation:
Electrical input establishes the operating conditions for the motor's mechanical output. The 208-230V configuration supplies the specified electrical input needed for the motor to operate within its intended system.
Shaft Drive and Blower Connection:
The motor's shaft forms the mechanical link between the motor and the connected blower. As the shaft rotates, it transfers the motor's output to the blower assembly, allowing the connected fan to perform its mechanical function.
Replacement Guidelines:
Replacement may be appropriate when the motor develops a persistent reduction in mechanical output or when physical deterioration affects dependable operation. Before ordering, compare the existing HC52JQ231 part number with the applicable equipment requirements and verified specifications.
Common Failure Symptoms:
Equipment Compatibility:
The Carrier HC52JQ231 Blower Motor is associated with Carrier equipment models 48FCEA05F2A56F0A0 and 48FCEA05K2M56F3A0. Before purchasing, confirm the existing HC52JQ231 part number, motor configuration, electrical requirements, and applicable equipment model requirements against the original documentation.
Technical Specifications:
Part Identification:
Brand: Carrier
Part Number: HC52JQ231
Product Type: Blower Motor
Electrical:
Voltage: 208-230V
Step 1: Turn off power at breaker and verify zero voltage before starting.
Step 2: Remove blower compartment panel and disconnect wiring from old motor.
Step 3: Mark blower wheel position before removal to maintain balance.
Step 4: Install new motor onto mounting bracket and secure firmly.
Step 5: Reconnect wiring and capacitor according to wiring diagram.
Step 6: Restore power and test airflow, checking for smooth operation, noise, and vibration.