Facebook Pixel

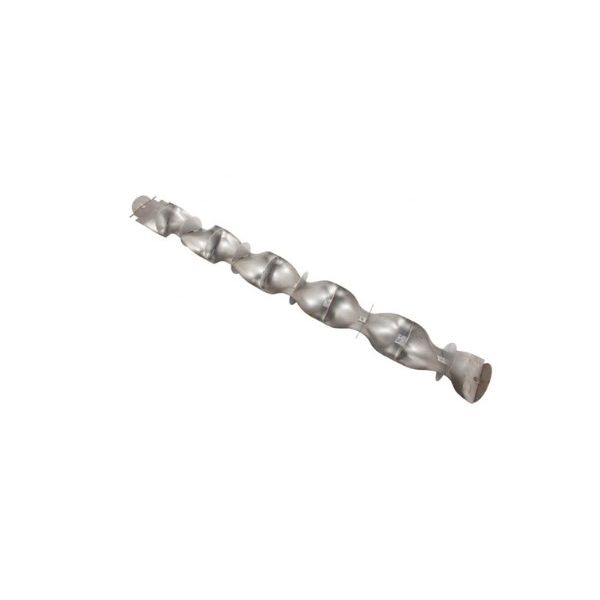
Lochinvar & A.O. Smith 100109675 Flue Baffle Assembly

Special Price $142.83 Regular Price $164.25
In stock
SKU
100109675
The Lochinvar & A. O. Smith 100109675 Flue Baffle Assembly is an important part of a commercial boiler system. It also has some acting as a heat exchanger which directs hot gas resulting from the combustion chamber toward the boiler water and effectively transfers heat to the water. This assembly is expected to work in parallel with Lochinvar and A.O. Smith commercial boilers enhancing their performance and efficiency. Another design, namely the flue baffle assembly plays an important role in increasing water temperatures and minimizes fuel consumption with high-capacity heat exchange. The advantages of raising boiler efficiency include lower cost of operation and reduced pollution.
https://www.partshnc.com/media/catalog/product/1/0/100109675_lochinvar--a.o.-smith_partshnc.png

Specifications

  • Type: Flue Baffle Assembly
    Manufacturer Name: Lochinvar & A.O. Smith
    Product Number: 100109675
    OEM Part Number: 100109675
    Product Description: Flue Baffle Assembly
    Weight:7lbs/3175.14g

    Choose the best HVAC equipment parts and supplies from PartsHnC!

    • Same Day Shipping

    • Best Quality And Best Price

    • Wide Range of Inventory

    • Best Customer Service

    Have More Questions or Need Help to Place The Order?
    Reach us at (866)773-0907 or [email protected]

    Write Your Own Review
    You're reviewing:Lochinvar & A.O. Smith 100109675 Flue Baffle Assembly
    Your Rating
    Customer Questions
    What maintenance is required for the Lochinvar & A.O. Smith 100109675 Flue Baffle Assembly?

    Regularly inspect the flue baffle for soot buildup, corrosion, or loose fittings. Clean it gently to maintain proper exhaust flow and prevent blockages. Ensure secure installation, and always turn off the appliance before performing any maintenance.

    What are common issues with the Lochinvar & A.O. Smith 100109675 Flue Baffle Assembly?

    • Soot or debris buildup restricting airflow.
    • Warped or bent baffle affecting exhaust performance.
    • Loose or missing mounting components.
    • Corrosion compromising structural integrity.

    Installation Steps

    Step 1: Turn off any system power and ensure the flue is cool.

    Step 2: Remove the existing flue baffle carefully, keeping all hardware organized.

    Step 3: Position the new flue baffle assembly in the correct orientation.

    Step 4: Reinstall any retaining clips or brackets securely, ensuring proper alignment.

    Step 5: Verify the baffle is stable and the flue is unobstructed before use.