Facebook Pixel

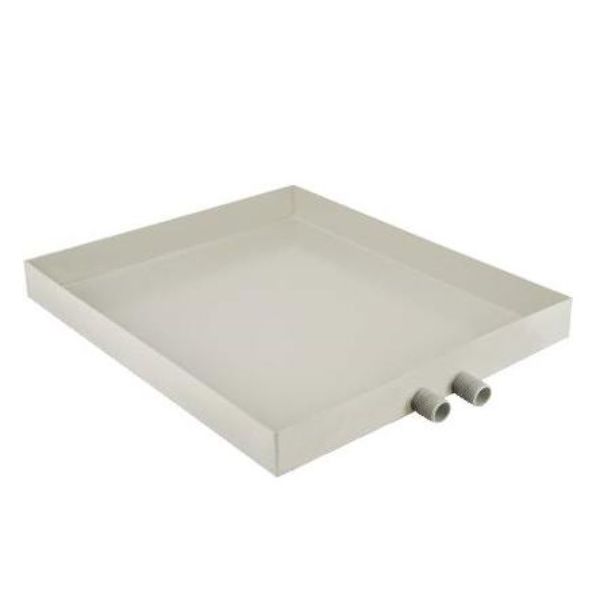
First Company 9-360-58P Horizontal Drain Pan Assembly

Special Price $201.30 Regular Price $223.44
In stock
SKU
9-360-58P
The First Company 9-360-58P Horizontal Drain Pan Assembly that collects and diverts condensate under air handling units or evaporator coils and directs moisture to the drainage outlet to ensure that water accumulation is avoided. In the HVAC systems, it assists in the maintenance of the correct operation by controlling the condensate and ensuring that the surrounding buildings are not at danger of water destruction. It is commonly used in residential and light commercial applications and is used to ensure the effective moisture management of the system and aid the overall system performance, which assists in maintaining a steady airflow.
https://www.partshnc.com/media/catalog/product/9/-/9-360-58p.jpg

Specifications

  • Type: Drain Pan Horizontal
    Write Your Own Review
    You're reviewing:First Company 9-360-58P Horizontal Drain Pan Assembly
    Your Rating
    Customer Questions
    What maintenance is required for the First Company 9-360-58P Drain Pan Assembly?

    Regularly inspect the drain pan for standing water, cracks, or corrosion. Clean the pan and surrounding area to prevent debris buildup. Ensure the drain line is clear to avoid clogs. Always turn off the system before performing maintenance.

    What are common issues with the First Company 9-360-58P Drain Pan Assembly?

    • Water overflow due to clogs.
    • Cracks or corrosion causing leaks.
    • Misalignment affecting drainage.
    • Accumulation of debris leading to odor.

    Installation Steps

    Step 1: Turn off power and water supply to the HVAC system to prevent injury.

    Step 2: Remove the access panel and carefully take out the existing drain pan.

    Step 3: Clean the surrounding area and ensure the drain line is clear of debris.

    Step 4: Position the new horizontal drain pan assembly correctly under the coil.

    Step 5: Reconnect the drain line securely and check for proper slope to the outlet.

    Step 6: Restore power and water, then test for leaks and correct drainage.