Facebook Pixel

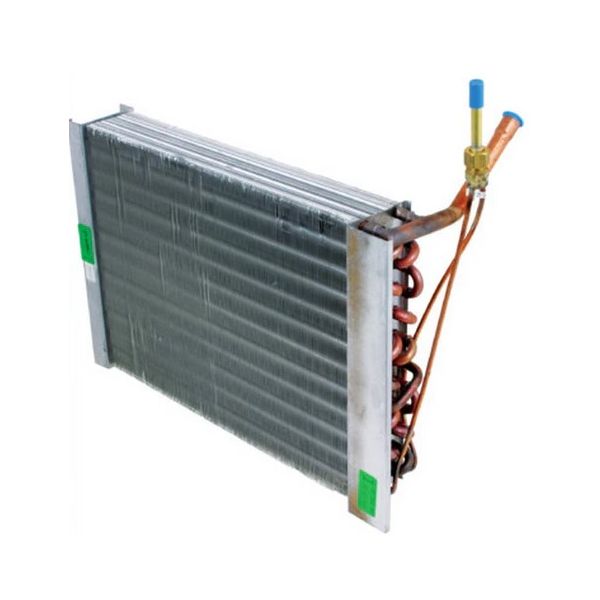
First Company 9-321-55-3 Evaporator Coil Assembly Vertical 4-Row 18TX18L TXV

Special Price $1,126.36 Regular Price $1,250.26
In stock
SKU
9-321-55-3
The First Company 9-321-55-3 Evaporator Coil Assembly 18TX18L is a heat exchanger component that captures heat from indoor air as it flows through HVAC systems. This type of vertical coil assembly has four rows of tubing with thermostatic expansion valves (TXVs) that regulate refrigerant flow into the coil to ensure accurate temperature control. It is used in the air handlers of homes, and commercial buildings where maximum, heat absorption during the cooling process is required. This evaporator, section of the systems helps maintain steady airflow and uniform heat transfer ensuring balanced operating conditions.
https://www.partshnc.com/media/catalog/product/9/-/9-321-55-3.jpg

Specifications

  • Type: Coil assembly
    Write Your Own Review
    You're reviewing:First Company 9-321-55-3 Evaporator Coil Assembly Vertical 4-Row 18TX18L TXV
    Your Rating
    Customer Questions
    What maintenance is required for the First Company 9-321-55-3 Evaporator Coil Assembly?

    Regularly clean the coil fins to remove dust and debris using a soft brush or vacuum. Inspect for bent or damaged fins and straighten carefully. Check for refrigerant leaks and ensure proper airflow. Always turn off power before performing maintenance.

    What are common issues with the First Company 9-321-55-3 Evaporator Coil Assembly?

    • Reduced cooling efficiency due to dirt buildup.
    • Leaks or refrigerant loss.
    • Corrosion on coil fins.
    • Restricted airflow from bent or damaged fins.

    Installation Steps

    Step 1: Turn off power to the HVAC system to prevent electric shock.

    Step 2: Open the air handler and remove the existing evaporator coil carefully.

    Step 3: Clean the coil housing and inspect for debris or damage.

    Step 4: Insert the new vertical row coil, aligning refrigerant lines and TXV connections.

    Step 5: Reconnect refrigerant lines and ensure all fittings are properly sealed.

    Step 6: Restore power, check for leaks, and verify airflow and system performance.