Facebook Pixel

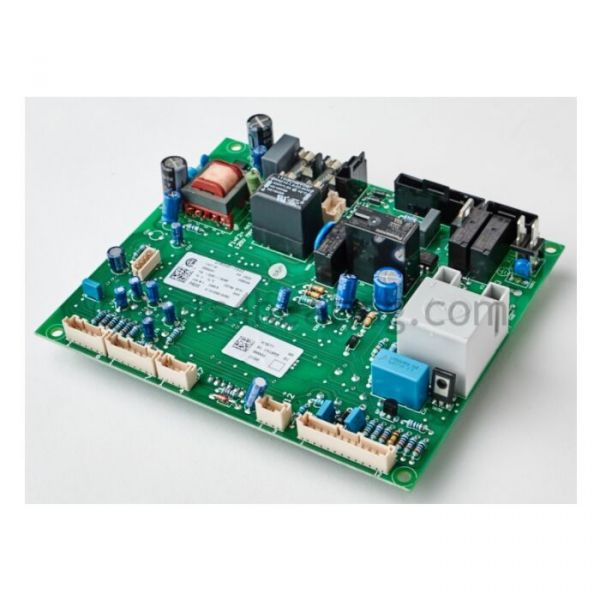
Utica-Dunkirk FE3980B851 FE Control Board Kit

Special Price $462.28 Regular Price $513.13
In stock
SKU
FE3980B851
The Utica-Dunkirk FE3980B851 FE Control Board Kit is an electronic component used to control the work of heating equipment and organise the safe operation of HVAC systems. It is operated by an integrated circuit board that takes inputs in the form of temperature sensors, pressure switches, and safety controls and sends commands to ignition parts, pumps, and other interconnected components during the operation of the boiler and hydronic HVAC systems. It is located within the equipment control compartment, where the wiring harnesses are attached to the respective terminals. It enables the controller to control the ignition sequencing.
https://www.partshnc.com/media/catalog/product/f/e/fe3980b851_utica-dunkirk_partshnc.png
Manufacturer Name: Utica-Dunkirk
Product Number: FE3980B851
OEM Part Number: FE3980B851
Product Description: Fe Ctrl Brd Kit
Weight:1.23lbs/557.92g

Choose the best HVAC equipment parts and supplies from PartsHnC!

  • Same Day Shipping

  • Best Quality And Best Price

  • Wide Range of Inventory

  • Best Customer Service

Have More Questions or Need Help to Place The Order?
Reach us at (866)773-0907 or [email protected]

Write Your Own Review
You're reviewing:Utica-Dunkirk FE3980B851 FE Control Board Kit
Your Rating
Customer Questions
What maintenance is required for the Utica-Dunkirk FE3980B851 FE Control Board Kit?

Regularly inspect the control board for dust, corrosion, or loose connections to ensure accurate operation. Verify all wiring and terminals are secure. Use a soft brush or compressed air to remove debris. Proper care prevents malfunctions and electrical hazards.

What are common issues with the Utica-Dunkirk FE3980B851 FE Control Board Kit?

  • Intermittent heating or failure to ignite.
  • Faulty sensor readings or miscommunication with components.
  • Blown fuses or tripped circuit breakers.
  • Error codes displayed on the board.

Installation Steps

Step 1: Turn off all power to the unit before starting.

Step 2: Remove any mounting screws and carefully take out the old control board.

Step 3: Align the new Control Board Kit in the mounting position.

Step 4: Secure the board with screws, ensuring it sits flat and stable.

Step 5: Reconnect all wiring according to the previous configuration.

Step 6: Restore power and verify proper operation.