Facebook Pixel

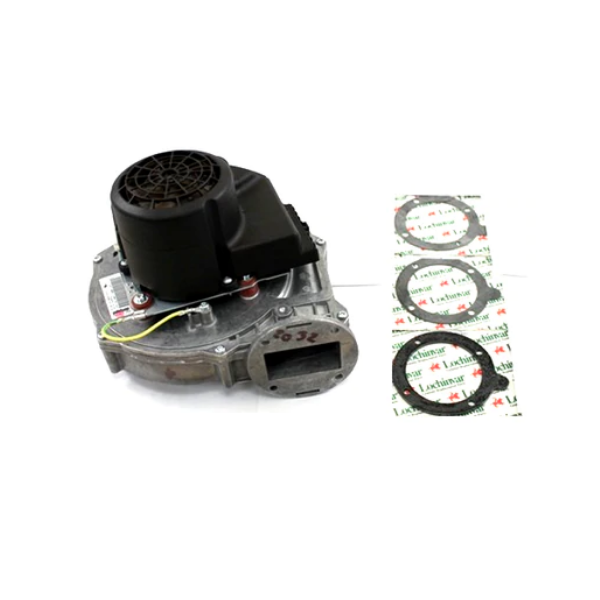
Lochinvar & A.O. Smith 100145005 Fan Assembly 120V

Special Price $633.21 Regular Price $702.86
In stock
SKU
100145005
Lochinvar & A.O. Smith 100145005 Fan Assembly 120V is an essential accessary for heat circulation in HVAC systems, especially for water heaters and boilers manufactured by these two companing firm. This high-performance fan assembly improves the circulation of air hence increasing heat exchange and regulating temperature. It is strong, thus offering value by lasting longer, and requiring minimal replacement as compared to weaker ones. This fan assembly helps in cutting down on energy expenses and uses less energy giving you a comfortable climate while also helping in saving the useful life of your HVAC equipment.
https://www.partshnc.com/media/catalog/product/1/0/100145005_lochinvar--a.o.-smith_partshnc.png

Specifications

  • Type: Fan Assembly
  • Voltage: 120V
Manufacturer Name: Lochinvar & A.O. Smith
Product Number: 100145005
OEM Part Number: 100145005
Product Description: Fan Assembly
Weight:5.89lbs/2671.66g

Choose the best HVAC equipment parts and supplies from PartsHnC!

  • Same Day Shipping

  • Best Quality And Best Price

  • Wide Range of Inventory

  • Best Customer Service

Have More Questions or Need Help to Place The Order?
Reach us at (866)773-0907 or [email protected]

Write Your Own Review
You're reviewing:Lochinvar & A.O. Smith 100145005 Fan Assembly 120V
Your Rating
Customer Questions
What maintenance is required for the Lochinvar & A.O. Smith 100145005 Fan Assembly?

Inspect the fan assembly regularly for dust buildup and clean blades and housing to maintain proper airflow. Check electrical connections for tightness and wear. Ensure secure mounting to reduce vibration and noise. Always disconnect power before servicing for safety.

What are common issues with the Lochinvar & A.O. Smith 100145005 Fan Assembly?

  • Reduced airflow due to dust buildup on fan blades.
  • Electrical connection failures causing intermittent operation.
  • Motor overheating or noise from bearing damage.
  • Vibration from loose mounting or imbalance.
  • Complete fan failure due to motor burnout.

Installation Steps

Step 1: Switch off electrical supply and allow unit to cool before opening access panel.

Step 2: Remove existing fan assembly, noting mounting points and wiring connections.

Step 3: Clean mounting area and airflow path to keep it clear and clean.

Step 4: Position new fan assembly, secure bolts evenly, and reconnect wiring firmly.

Step 5: Close panel, restore power, and run system to check airflow and proper rotation.