
Facebook Pixel

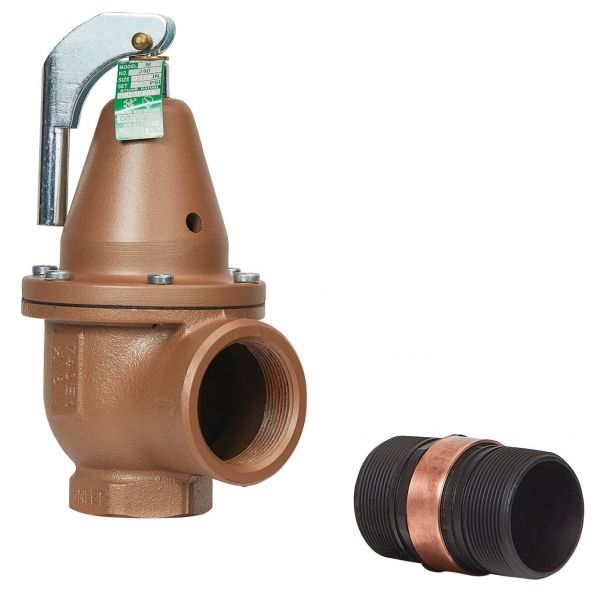
Watts F383800 Pressure Relief Valve 4907000 BTU 60 PSI 1-1/2"X2"

Special Price $915.61 Regular Price $1,016.33
In stock
SKU
F383800
The Watts F383800 Pressure Relief Valve is an essential part of HVAC systems which protects the systems from pressure fluctuations which can be a hazard for the systems. This valve is constructed with an iron body, and has 1-1/2" NPT inlet and outlet ports to ensure easy connection to different systems. Its major purpose is to regulate pressure and let go of the extra pressure when the pressure hits the set limit of 60 PSI, so as not to cause the system to break down and to lengthen its lifetime. This valve is ideal for all kinds of residential and commercial HVAC applications like boilers, chillers and other high pressure systems because of the high capacity of 4,907,000 BTU.
Manufacturer:

https://www.partshnc.com/media/catalog/product/f/3/f383800-1.jpg

Specifications

  • Type: Valve
  • Body Material: Iron
  • Inlet Connection Size: 1-1/2" NPT
  • Outlet Connection Size: 1-1/2" NPT
  • Pressure: 60 PSI
  • Capacity: 4,907,000 BTU
  • Series: 740
Write Your Own Review
You're reviewing:Watts F383800 Pressure Relief Valve 4907000 BTU 60 PSI 1-1/2"X2"
Your Rating
Customer Questions
What maintenance is required for the Watts F383800 Pressure Relief Valve?

Regularly inspect the valve for leaks, corrosion, or mineral buildup. Test the release mechanism periodically to ensure proper operation. Clean or flush debris from the valve seat as needed. Follow safety precautions when relieving pressure to prevent injury.

What are common issues with the Watts F383800 Pressure Relief Valve?

  • Leaking or dribbling water.
  • Failure to open at set pressure.
  • Sticking or jammed valve mechanism.
  • Corrosion affecting performance.

Installation Steps

Step 1: Turn off the system and relieve pressure before starting installation.

Step 2: Remove the old pressure relief valve carefully, keeping connections intact.

Step 3: Mount the new valve securely in place, ensuring proper orientation.

Step 4: Connect the piping according to instructions and tighten fittings.

Step 5: Restore system pressure and test the valve for proper operation, checking for leaks.