
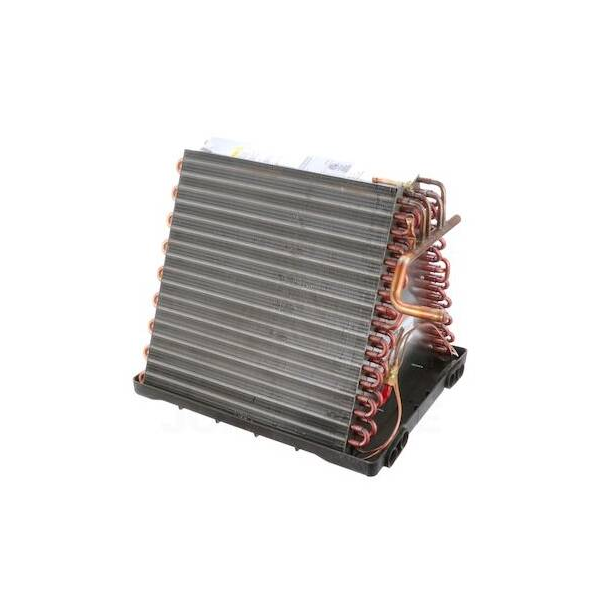
Amana-Goodman P140136P Evaporator Coil

The Amana-Goodman P140136P is a replacement evaporator coil that is compatible with Goodman and Amana air conditioners and heat pumps. This important part is essential to maintaining a cool and comfortable environment. The coil effectively absorbs heat from the refrigerant moving within your system because it is made of aluminum with a protective coating to withstand wear and tear. This heat is transferred as heated air passes over the coil, dispersing cooler air throughout your living area. By condensing excessive moisture, the P140136P also aids in dehumidifying the air, resulting in a more comfortable and balanced atmosphere. With a 14 Seasonal Energy Efficiency Ratio rating, this evaporator coil can be used with R-410A refrigerant, which could lead to decreased energy costs.
