Facebook Pixel

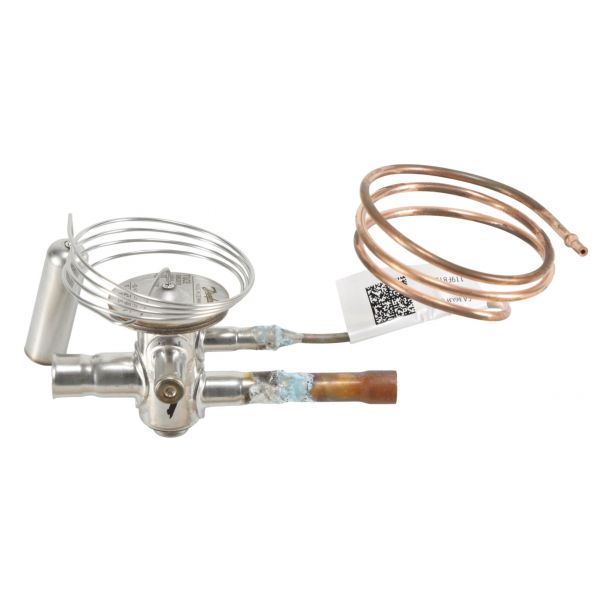
Carrier EA36UF004 Thermal Expansion Valve(TXV) Valve

Special Price $177.66 Regular Price $204.31
Out of stock
SKU
EA36UF004
The Carrier EA36UF004 Thermal Expansion Valve is a crucial component in air conditioners and refrigeration systems regulates refrigerant flow to ensure peak performance. It measures the temperature and pressure of the refrigerant leaving the evaporator coil to open a valve and let the right amount of refrigerant into the coil. This accurate management generates a more reliable and proficient HVAC system through elimination of ineffectual operation as well as the assurance of continuous cooling or heating, and the protection of the compressor.
https://www.partshnc.com/media/catalog/product/e/a/ea36uf004.jpg

Specifications

  • Length: 5 "
  • Width: 6 "
  • Height: 10 "
  • Prop 65: Yes
  • Weight: 1.07 lbs
Manufacturer Name: Carrier
Product Number: EA36UF004
OEM Part Number: EA36UF004
Product Description: Thermal Expansion Valve(Txv) Valve
Weight:0.65lbs/294.83g

Choose the best HVAC equipment parts and supplies from PartsHnC!

  • Same Day Shipping

  • Best Quality And Best Price

  • Wide Range of Inventory

  • Best Customer Service

Have More Questions or Need Help to Place The Order?
Reach us at (866)773-0907 or [email protected]

Write Your Own Review
You're reviewing:Carrier EA36UF004 Thermal Expansion Valve(TXV) Valve
Your Rating
Customer Questions
What maintenance is required for the Carrier EA36UF004 Thermal Expansion Valve?

Regularly inspect the thermal expansion valve for leaks, corrosion, or blockages. Ensure connections are tight and the sensing bulb is properly mounted. Always depressurize the system before servicing.

What are common issues with the Carrier EA36UF004 Thermal Expansion Valve?

  • Refrigerant flow restriction or blockage.
  • Leaks at connections or bulb.
  • Incorrect superheat adjustment.
  • Frost buildup on the valve body.

Installation Steps

Step 1: Turn off the HVAC system and recover refrigerant for safety.

Step 2: Locate the existing TXV and remove any access panels to reach it.

Step 3: Disconnect the old valve from the liquid line and evaporator inlet, noting orientation.

Step 4: Install the new TXV, ensuring proper alignment and secure connections.

Step 5: Restore refrigerant, close panels, turn on the system, and check for leaks and proper cooling operation.