
Facebook Pixel

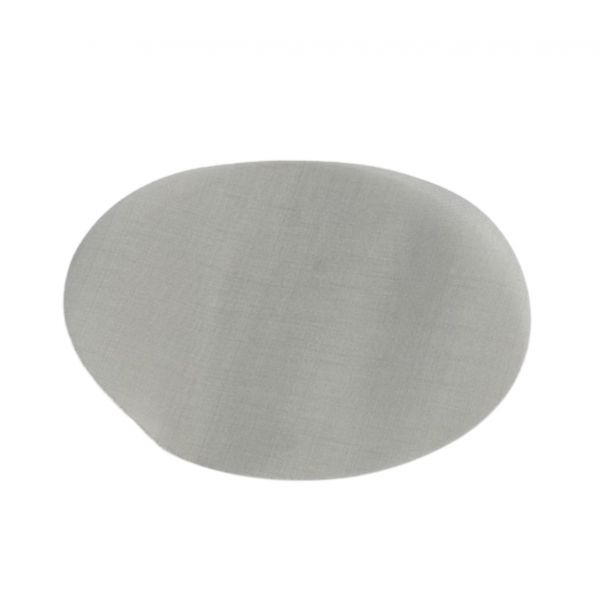
Sporlan Controls 61715 Screen 100-Mesh

Special Price $30.94 Regular Price $40.22
In stock
SKU
61715
The Sporlan Controls 61715 100-Mesh Screen is intended for usage in HVAC systems and in the refrigerant lines of air conditioning and refrigeration equipment. More especially, this fine-mesh screen serves as a filter which excludes undesirable items like dirt, scale, and other particulate matters from other parts that include, but are not limited to expansion valves as well as compressors. The screen assists in keeping the system efficient and free from damages that would require expensive repair due to contamination by these contaminants. This results in better system performance, increased equipment durability, and minimized maintenance time, , less energy and operation expenses.
Manufacturer:
https://www.partshnc.com/media/catalog/product/6/1/61715_1.jpg

Specifications

  • Type: Screen
  • Mesh Size: 100
Manufacturer Name: Emerson Flow Control (Alco)
Product Number: 61715
OEM Part Number: 61715
Product Description: 100 Mesh Screen
Weight:0lbs/0g

Choose the best HVAC equipment parts and supplies from PartsHnC!

  • Same Day Shipping

  • Best Quality And Best Price

  • Wide Range of Inventory

  • Best Customer Service

Have More Questions or Need Help to Place The Order?
Reach us at (866)773-0907 or [email protected]

Write Your Own Review
You're reviewing:Sporlan Controls 61715 Screen 100-Mesh
Your Rating
Customer Questions
What maintenance is required for the Sporlan Controls 61715 Mesh Screen?

Inspects periodically for debris accumulation that can restrict refrigerant or fluid flow. Remove and clean using a solvent or gentle air purge. Always check correct orientation and tight seating before reassembly to avoid bypass leakage.

What are common issues with the Sporlan Controls 61715 Mesh Screen?

  • Clogging from fine debris restricting refrigerant flow.
  • Increased pressure drop across the screen.
  • Mesh distortion or tearing under system stress.
  • Improper seating causing bypass leakage.
  • Corrosion or contamination buildup in wet systems.
  • Reduced system efficiency or erratic operation.

Installation Steps

Step 1: Turn off power and depressurize system, confirm no flow.

Step 2: Open housing and remove old screen, noting orientation.

Step 3: Clean seat area to remove debris and ensure proper fit.

Step 4: Place new screen in correct direction, reassemble housing, secure tight, restore system and check flow.

Step 5: Inspect for leaks and check stable operation.