Facebook Pixel

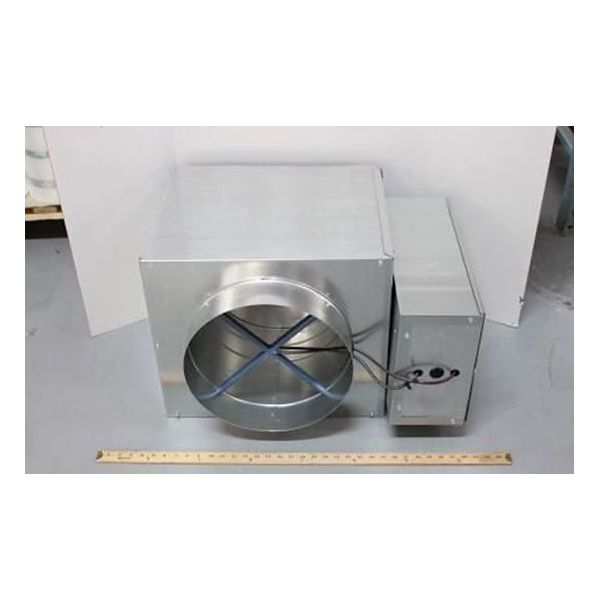
Titus HVAC DESV-14 14" Digital VAV No Control

Special Price $401.94 Regular Price $446.15
Out of stock
SKU
DESV-14
The Titus HVAC DESV-14 VAV Digital Single Duct Terminal No Control is a high-precision air distribution part for commercial HVAC systems. It is 14" in size which operates on a variable air volume concept adjusting airflow to meet demand and keep the indoor environment comfortable while saving energy. This terminal is typically used with air handlers or rooftop units to improve zone control and reduce operational expenses. It provides quiet operation, durable performance, and flexibility in system design without built-in controls.
Titus Fan Coils,
Manufacturer:
https://www.partshnc.com/media/catalog/product/d/e/desv-14_titus-hvac_partshnc.jpg

Specifications

  • Type: Digital Single Duct Terminal
  • Airflow Regulation: VAV
  • Size: 14"
Manufacturer Name: Titus HVAC
Product Number: DESV-14
OEM Part Number: DESV-14
Product Description: 14" Digital Vav, No Control
Weight:40.4lbs/18325.12g

Choose the best HVAC equipment parts and supplies from PartsHnC!

  • Same Day Shipping

  • Best Quality And Best Price

  • Wide Range of Inventory

  • Best Customer Service

Have More Questions or Need Help to Place The Order?
Reach us at (866)773-0907 or [email protected]

Write Your Own Review
You're reviewing:Titus HVAC DESV-14 14" Digital VAV No Control
Your Rating
Customer Questions
What maintenance is required for the Titus HVAC DESV-14 Digital VAV?

Regularly inspect airflow dampers and digital controls for dust buildup and calibration drift. Clean sensors and verify wiring connections to ensure stable operation and accurate VAV performance. Preventive maintenance reduces airflow inconsistencies and helps maintain efficient HVAC distribution and safety.

What are common issues with the Titus HVAC DESV-14 Digital VAV?

  • Sensor drift or inaccurate airflow readings.
  • Communication errors in digital control module.
  • Damper sticking or restricted airflow.
  • Wiring faults or connectivity issues causing intermittent operation.

Installation Steps

Step 1: Switch off HVAC power and verify lockout/tagout for safety before starting installation.

Step 2: Mount the VAV box securely to ductwork using approved brackets, ensuring alignment and sealing joints properly.

Step 3: Connect inlet and outlet ducts, ensuring airtight sealing and no leakage at joints.

Step 4: Wire power and communication terminals per manufacturer diagram, ensuring insulation and safety compliance.

Step 5: Configure controller settings and test airflow operation, verifying correct pressure and operation.