Facebook Pixel

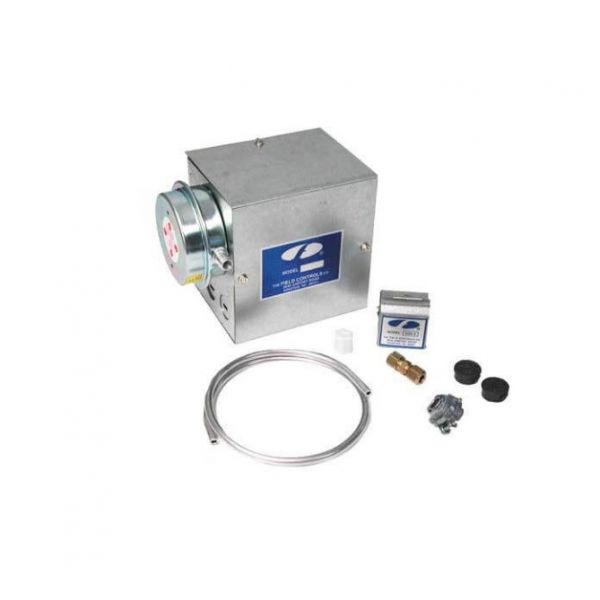
Field Controls CK-41F Control Kit F 24V Gas Fixed Post Purge 46282641 Replaces Ck-41 Ck-44 Ck-40F, UPC Code: 090747744107

Special Price $276.40 Regular Price $306.81
In stock
SKU
CK-41F
Field Controls CK-41F Control Kit W/Gas Fixed Post Purge 46282641 CK-41 CK-44 CK-40F control component is used to operate venting equipment with the burner in HVAC systems. It operates on a 24V control circuit with fixed post-purge timing so that the venting system can keep operating slightly after burning, so that any residual combustion gases are cleared as the system is used in gas furnace and boiler HVAC systems. It is connected to control wiring at the point where the circuit connects burner controls and venting equipment.
Manufacturer:

https://www.partshnc.com/media/catalog/product/c/k/ck-41f.jpg
Manufacturer Name: Field Controls
Product Number: CK-41F
OEM Part Number: CK-41F
Product Description: Control Kit For 24V Gas Fixed Post Purge 46282641 Replaces Ck-41 Ck-44 Ck-40F
Weight:6lbs/2721.55g

Choose the best HVAC equipment parts and supplies from PartsHnC!

  • Same Day Shipping

  • Best Quality And Best Price

  • Wide Range of Inventory

  • Best Customer Service

Have More Questions or Need Help to Place The Order?
Reach us at (866)773-0907 or [email protected]

Write Your Own Review
You're reviewing:Field Controls CK-41F Control Kit F 24V Gas Fixed Post Purge 46282641 Replaces Ck-41 Ck-44 Ck-40F, UPC Code: 090747744107
Your Rating
Customer Questions
What maintenance is required for the Field Controls CK-41F Control Kit?

Regularly inspect the control kit for dust, corrosion, or loose wiring connections. Test the gas purge and control functions to ensure proper operation. Replace worn components promptly, and follow all safety procedures when handling gas-related equipment.

What are common issues with the Field Controls CK-41F Control Kit?

  • Failure to initiate gas purge properly.
  • Intermittent electrical connection problems.
  • Faulty control signals or delayed response.
  • Corrosion or wear on terminals affecting operation.

Installation Steps

Step 1: Turn off all power before starting installation for safety.

Step 2: Disconnect existing control kit and carefully note all wiring positions.

Step 3: Mount the new control kit securely in place.

Step 4: Reconnect wires following the original configuration or included wiring diagram.

Step 5: Restore power and test the control kit functions.

Step 6: Verify operation and check for any errors before finishing installation.