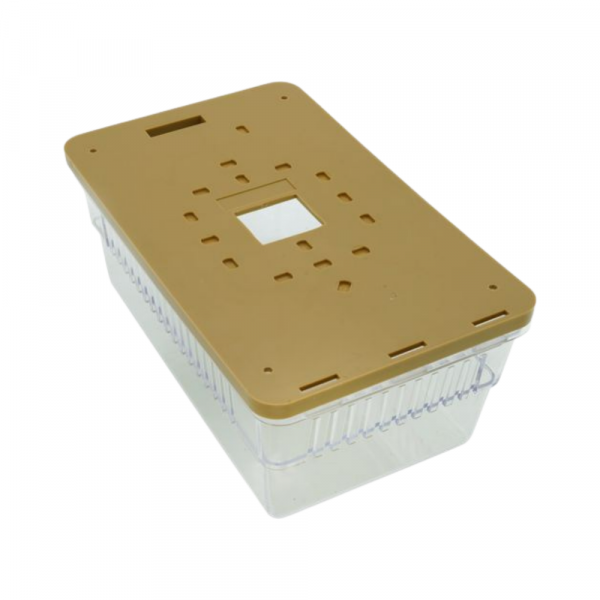
Beko Thermostat Guards BTG-UK2 Clear Plastic Thermostat Guard 8.25X4 5/8"
Special Price $19.25 Regular Price $25.03
In stock
SKU
BTG-UK2

The Beko Thermostat Guards BTG-UK2 Clear Plastic Thermostat Guard 8.25" X 4-5/8" is applied to ensure that the units are not physically damaged in HVAC systems. It works by putting the thermostat in a transparent plastic container so that it can be seen and operated without being tampered with or hit. It entails attaching the guard to the thermostat with the aid of screws or brackets to make sure that it fits. It would be appropriate in heating, ventilation and air conditioning systems with the possibility of contact or disturbance.