Facebook Pixel

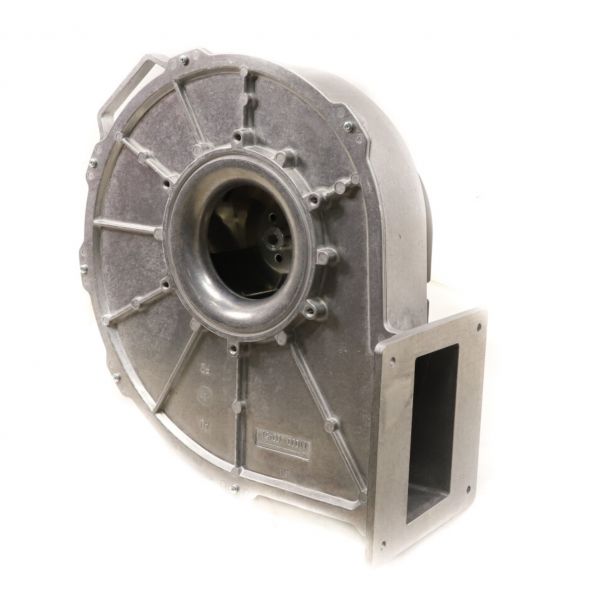
Laars Heating Systems R2004900 Blower Assembly 820W 208-240V

Special Price $3,546.68 Regular Price $3,936.81
In stock
SKU
R2004900
Laars Heating Systems R2004900 Blower Assembly is an 820W powerful part that is used to facilitate the circulation of air in the HVAC systems. This blower assembly is used for 208-240V, it is required for combustion and heat on the boilers and heating equipment. Through the process of suctioning and blowing air through the system, air enhances the efficiency of the burner and ensures that the heating is steady. It is suitable for residential use to enhance energy utilization, reduce emissions, and extend the longevity of equipment. This blower assembly has a long life and is reliable and functions to avoid overheating and maintains comfortable condition.
https://www.partshnc.com/media/catalog/product/r/2/r2004900.jpg

Specifications

  • Type: Blower Assembly
  • Power: 820W
  • Voltage: 208-240V
Manufacturer Name: Laars Heating Systems
Product Number: R2004900
OEM Part Number: R2004900
Product Description: Blowerassembly 208-240V 820W
Weight:35.23lbs/15980.05g

Choose the best HVAC equipment parts and supplies from PartsHnC!

  • Same Day Shipping

  • Best Quality And Best Price

  • Wide Range of Inventory

  • Best Customer Service

Have More Questions or Need Help to Place The Order?
Reach us at (866)773-0907 or [email protected]

Write Your Own Review
You're reviewing:Laars Heating Systems R2004900 Blower Assembly 820W 208-240V
Your Rating
Customer Questions
What maintenance is required for the Laars Heating Systems R2004900 Blower Assembly?

Regularly inspect the blower assembly for dust buildup and debris that may restrict airflow. Clean the fan blades and housing using a soft brush or compressed air. Check electrical connections for tightness and signs of wear. Ensure power is disconnected before servicing to prevent electrical hazards.

What are common issues with the Laars Heating Systems R2004900 Blower Assembly?

  • Reduced airflow due to clogged or dirty fan blades.
  • Motor overheating or failure to start.
  • Unusual noise from worn bearings or loose components.
  • Inconsistent performance caused by voltage or wiring issues.

Installation Steps

Step 1: Turn off power supply and confirm voltage is fully disconnected.

Step 2: Remove unit access panel and label wiring before disconnecting blower leads.

Step 3: Unscrew and remove old blower assembly carefully.

Step 4: Position new blower assembly, secure mounting points evenly.

Step 5: Reconnect wiring as labeled and ensure firm connections.

Step 6: Restore power, check rotation direction, and test airflow and operation.