Facebook Pixel

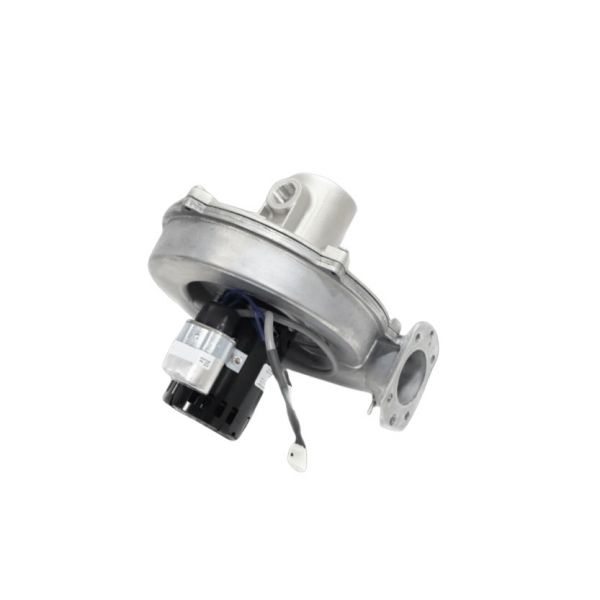
Lochinvar & A.O. Smith 100111048 Blower Assembly 3250 RPM 120V

Special Price $1,140.47 Regular Price $1,265.92
In stock
SKU
100111048
The Lochinvar & A.O. Smith 100111048 Blower Assembly is one of the HVAC components that can improve the performance of HVAC systems as it rotates at 3250 RPM and works at 120V. This blower assembly plays the role of distributing air in heating, as well as water heating equipment and appliances, enhancing efficiency as well as comfort. Thus, overall, a considerable degree of stable air circulation contributes to a better energy economy and the system’s increased durability. It can be used with different models and is an accessory of gas water heaters and heating systems, providing stable work and low noise.
https://www.partshnc.com/media/catalog/product/1/0/100111048.jpg

Specifications

  • Type: Blower Assembly
  • Speed: 3250 RPM
  • Voltage: 120V
Manufacturer Name: Lochinvar & A.O. Smith
Product Number: 100111048
OEM Part Number: 100111048
Product Description: 120V 3250Rpm Blower Assy
Weight:12.46lbs/5651.76g

Choose the best HVAC equipment parts and supplies from PartsHnC!

  • Same Day Shipping

  • Best Quality And Best Price

  • Wide Range of Inventory

  • Best Customer Service

Have More Questions or Need Help to Place The Order?
Reach us at (866)773-0907 or [email protected]

Write Your Own Review
You're reviewing:Lochinvar & A.O. Smith 100111048 Blower Assembly 3250 RPM 120V
Your Rating
Customer Questions
What maintenance is required for the Lochinvar & A.O. Smith 100111048 Blower Assembly?

Inspect and clean blower wheel and housing regularly to prevent dust buildup and airflow restriction. Ensure electrical connections remain tight and free from corrosion. Lubricate motor bearings if applicable and verify proper mounting alignment during servicing.

What are common issues with the Lochinvar & A.O. Smith 100111048 Blower Assembly?

  • Reduced airflow due to dust accumulation in blower wheel.
  • Motor overheating or inconsistent speed operation.
  • Excessive vibration from imbalance or worn bearings.
  • Electrical failure or intermittent power connection issues occurring.

Installation Steps

Step 1: Turn off power and gas supply before starting, allow unit to cool completely for safety.

Step 2: Remove access panel and disconnect existing blower wiring carefully, noting terminal positions.

Step 3: Unbolt old blower and install new blower assembly, securing tightly to housing.

Step 4: Reconnect wiring per diagram and ensure all connections are insulated.

Step 5: Restore power and test operation for smooth airflow and unusual noise.