
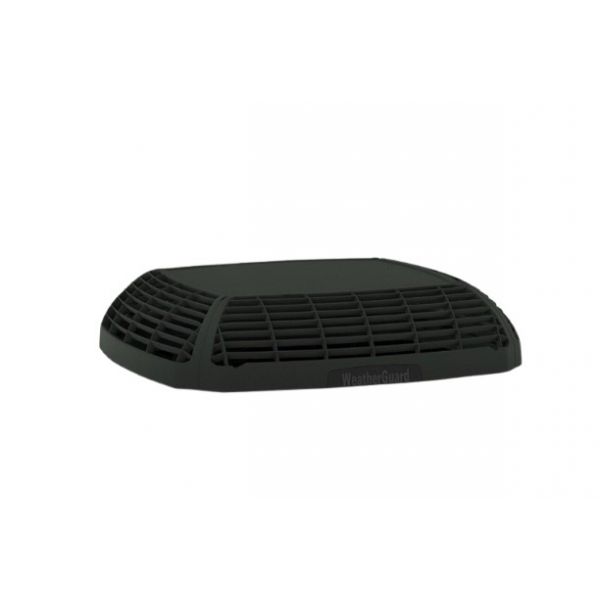
Trane BAYTWGR0003 Weather Guard Top Kit 33"W X 30"D
Special Price $453.00 Regular Price $502.83
In stock
SKU
BAYTWGR0003

The Trane BAYTWGR0003 Weather Guard Top Kit is a 33” x 30” cover intended to shield rooftop HVAC system equipment from extreme weather conditions. It protects from water in any of its forms: rain, snow, sleet or even hail, which leads to the protection of the equipment in general and its increased durability. This top kit is usually applied to Trane RTAC and RTU models, which are packaged terminal air conditioners and rooftop units. In protecting the fragile parts of your HVAC system, the Weather Guard Top Kit contributes to the system’s constant and dependable performance, energy-saving, and decreased need for repair.
Manufacturer:

Specifications
- Type: WeatherGuard Top Kit
- Dimensions: 33" Width x 30" Depth