
Facebook Pixel

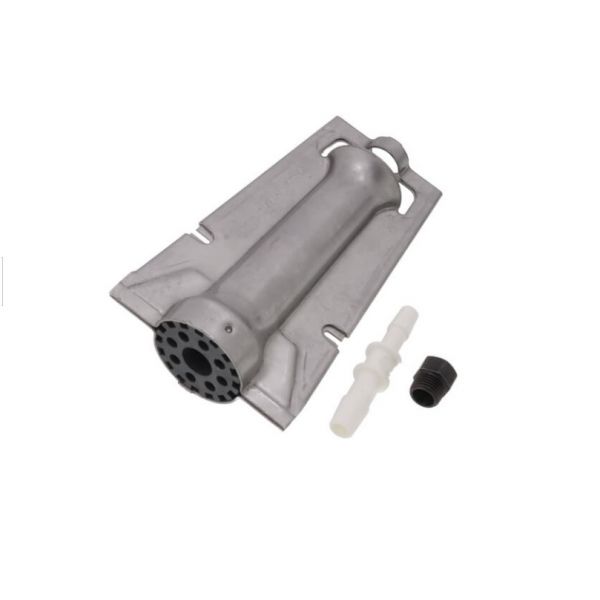
Trane BAYLPSS400C NG To LP Conversion Kit

Special Price $172.75 Regular Price $244.95
In stock
SKU
BAYLPSS400C
The Trane BAYLPSS400C is a conversion kit that changes a natural gas-fired furnace or boiler to run on liquefied petroleum gas or propane. This conversion kit will convert your existing HVAC system to LP gas. A kit to change your furnace or boiler to run on another fuel. When you can’t get natural gas, converting your HVAC system to LP gas can be useful. Natural Gas and Propane different combustion fuels, so this depends on a trained HVAC professional for the conversion change to ensure it is done correctly and using the equipment safely.
Manufacturer:

https://www.partshnc.com/media/catalog/product/b/a/baylpss400c.jpg

Specifications

  • Weight: 2.39lbs
  • Type: LP Conversion KIT
Manufacturer Name: Trane
Product Number: BAYLPSS400C
OEM Part Number: BAYLPSS400C
Product Description: Nat To Lp Conv Kit
Weight:2.39lbs/1084.08g

Choose the best HVAC equipment parts and supplies from PartsHnC!

  • Same Day Shipping

  • Best Quality And Best Price

  • Wide Range of Inventory

  • Best Customer Service

Have More Questions or Need Help to Place The Order?
Reach us at (866)773-0907 or [email protected]

Write Your Own Review
You're reviewing:Trane BAYLPSS400C NG To LP Conversion Kit
Your Rating
Customer Questions
What maintenance is required for the Trane BAYLPSS400C Conversion Kit?

Inspect all fittings, orifices, and seals periodically to ensure secure gas conversion performance. Verify tight connections and check for gas leaks during service. Keep components clean and undamaged, and follow manufacturer installation guidelines during any adjustment.

What are common issues with the Trane BAYLPSS400C Conversion Kit?

  • Gas leaks from improperly seated fittings or damaged seals.
  • Incorrect orifice sizing causing poor combustion or unstable flame.
  • Ignition problems after conversion due to airflow or pressure mismatch.
  • Inconsistent gas pressure leading to burner performance issues.

Installation Steps

Step 1: Turn off gas and electrical power to the HVAC unit and confirm the system is fully shut down.

Step 2: Remove the burner compartment access panel and locate the gas valve and burner assembly.

Step 3: Replace burner orifices and any included conversion components per the kit instructions.

Step 4: Adjust or replace regulator settings to match gas pressure requirements.

Step 5: Apply conversion label and check all fittings are properly tightened.

Step 6: Restore gas and power, then test ignition, flame , and manifold pressure for safe operation.