Facebook Pixel

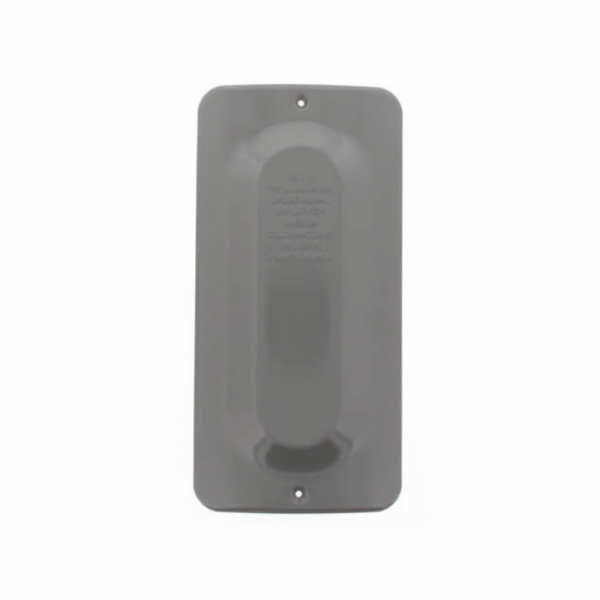
Rheem-Ruud AS38409-1AE Cavity Cover Warm Dark Gray

Special Price $8.11 Regular Price $10.95
In stock
SKU
AS38409-1AE
The Rheem-Ruud AS38409-1AE Cavity Cover-Warm Dark Gray is an exterior cover panel that is used to close and seal an access cavity on a water heater in HVAC systems. It is designed to be placed over the specific opening to protect internal parts against dust, debris, and incidental contact without interfering with the appearance of the finished unit. The component assists in maintaining the integrity of enclosure of the water heater and facilitates the organized mounting and service access of the residential and commercial uses.
Manufacturer:

https://www.partshnc.com/media/catalog/product/a/s/as38409-1ae.png
Manufacturer Name: Rheem water Heater
Product Number: AS38409-1AE
OEM Part Number: AS38409-1AE
Product Description: Cavity Cover - Warm Dark Gray Replaces Am38409-1Ae
Weight:5lbs/2267.96g

Choose the best HVAC equipment parts and supplies from PartsHnC!

  • Same Day Shipping

  • Best Quality And Best Price

  • Wide Range of Inventory

  • Best Customer Service

Have More Questions or Need Help to Place The Order?
Reach us at (866)773-0907 or [email protected]

Write Your Own Review
You're reviewing:Rheem-Ruud AS38409-1AE Cavity Cover Warm Dark Gray
Your Rating
Customer Questions
What maintenance is required for the Rheem AS38409-1AE Cavity Cover?

Regularly clean the cover with a soft, damp cloth to remove dust and debris. Check for cracks or damage and ensure it is securely attached. Proper upkeep prevents exposure of internal components and maintains safety and appearance.

What are common issues with the Rheem AS38409-1AE Cavity Cover?

  • Cracks or breakage from impact.
  • Fading or discoloration over time.
  • Loose or misaligned fit.
  • Scratches or surface damage.

Installation Steps

Step 1: Ensure the water heater is turned off and cooled before handling.

Step 2: Remove any existing cover or obstruction from the cavity area.

Step 3: Align the new cavity cover with the opening, ensuring proper orientation.

Step 4: Gently press or secure the cover into place, following any clips or screw points.

Step 5: Confirm the cover is flush and stable to avoid gaps or hazards.

Step 6: Do not force the cover wear gloves to protect hands during installation.