Facebook Pixel

Carrier AGAGC9PNS01D LP To NG Conversion Kit

Special Price $391.27 Regular Price $434.31
In stock
SKU
AGAGC9PNS01D
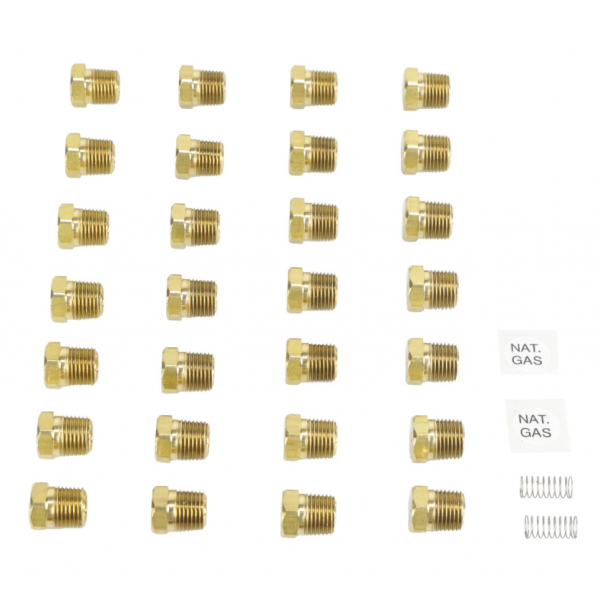
The Carrier AGAGC9PNS01D is a Conversion Kit, that allows easy conversion of the HVAC system from Liquefied Petroleum gas to Natural Gas. This small-sized kit provides a cheap approach to using another fuel source which may be cheaper and more accessible than hydrogen. Natural gas in most cases is cleaner than LP gas, this conversion kit can also be an environmentally protective product. If installed according to the manufacturer’s guidelines, and with the help of a professional technician, this kit will convert the LP Carrier HVAC system to natural gas, which may save you some money on operating expenses and decrease the carbon footprint.
Manufacturer:
https://www.partshnc.com/media/catalog/product/a/g/agagc9pns01d_-_nc.png

Specifications

  • Length: 11 "
  • Width: 8.5 "
  • Height: 1.5 "
  • Fuel Type: LP to NG
  • Weight: 0.79lbs
Manufacturer Name: Carrier
Product Number: AGAGC9PNS01D
OEM Part Number: AGAGC9PNS01D
Product Description: Lp To Ng Conversion Kit
Weight:0.79lbs/358.34g

Choose the best HVAC equipment parts and supplies from PartsHnC!

  • Same Day Shipping

  • Best Quality And Best Price

  • Wide Range of Inventory

  • Best Customer Service

Have More Questions or Need Help to Place The Order?
Reach us at (866)773-0907 or [email protected]

Write Your Own Review
You're reviewing:Carrier AGAGC9PNS01D LP To NG Conversion Kit
Your Rating
Customer Questions
What maintenance is required for the Carrier AGAGC9PNS01D Conversion Kit?

Periodically inspect the conversion kit for gas leaks and proper fittings. Ensure all connections are tight and clean from debris. Check for signs of wear or corrosion. Always turn off the gas supply before performing any maintenance.

What are common issues with the Carrier AGAGC9PNS01D Conversion Kit?

  • Improper gas pressure adjustment.
  • Gas leaks at fittings.
  • Difficulty achieving stable ignition.
  • Incorrect conversion causing performance inconsistencies.

Installation Steps

Step 1: Turn off gas supply and electrical power follow lockout/tagout and ensure area is well ventilated.

Step 2: Remove burner access panel and disconnect existing LP orifices and regulator components.

Step 3: Install orifices, springs, and regulator parts included in kit per manufacturer chart.

Step 4: Reassemble burner assembly and reconnect gas line securely.

Step 5: Restore gas supply, check all joints with leak detection solution.