
Facebook Pixel

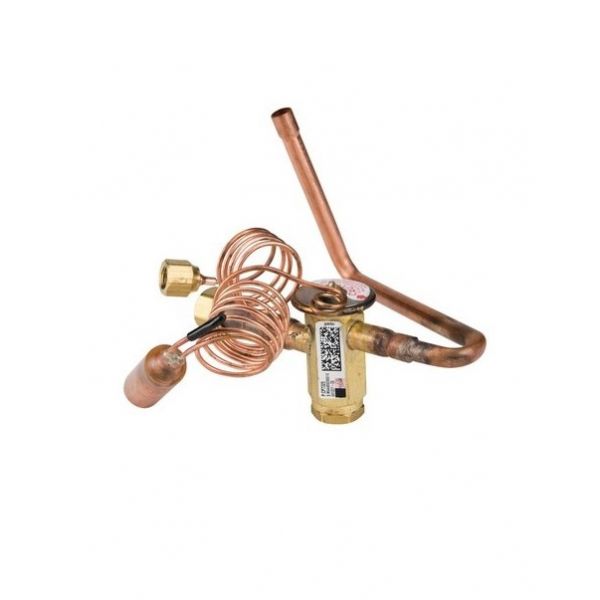
First Company 9EVR410-4 Thermostatic Expansion Valve R-410

Special Price $179.70 Regular Price $206.66
In stock
SKU
9EVR410-4
The First Company 9EVR410-4 Thermostatic Expansion Valve is a high-performance part for controlling refrigerant flow in HVAC systems. This valve is specifically designed for the R-410A refrigerant and will allow for maximum system performance as it maintains precise superheat levels. With a high-quality construction, it is both durable and reliable and is suitable both for commercial and residentialuses. By minimizing the amount of refrigerant that is overfed this expansion valve also helps promote energy efficiency by reducing compressor strain. It is easy to install and maintain,provides consistent cooling and heating performance, and prolongs the life of the HVAC Systems.
Manufacturer:

https://www.partshnc.com/media/catalog/product/9/e/9evr410-4.jpg

Specifications

  • Type: Theromastatic Expansion Valve
  • Refrigerant: R-410A
Write Your Own Review
You're reviewing:First Company 9EVR410-4 Thermostatic Expansion Valve R-410
Your Rating
Customer Questions
What maintenance is required for the First Company 9EVR410-4 Thermostatic Expansion Valve?

Regularly inspect the valve for leaks and buildup around the sensing bulb. Ensure connections are tight and the bulb is properly secured. Clean external surfaces gently and verify system pressure settings. Proper maintenance ensures accurate refrigerant flow and stable cooling performance.

What are common issues with the First Company 9EVR410-4 Thermostatic Expansion Valve?

  • Improper superheat or fluctuating temperatures.
  • Valve sticking or sluggish operation.
  • Refrigerant leaks around fittings.
  • Inconsistent system cooling performance.

Installation Steps

Step 1: Disconnect power and recover refrigerant, relieve system pressure safely.

Step 2: Remove existing expansion valve from line set or coil.

Step 3: Clean and inspect mounting surfaces and tubing for damage or debris.

Step 4: Install new valve in correct flow orientation and secure connections.

Step 5: Tighten fittings carefully, avoiding overheating the valve body.

Step 6: Reconnect sensing bulb and insulation then leak test evacuate and restore system operation.