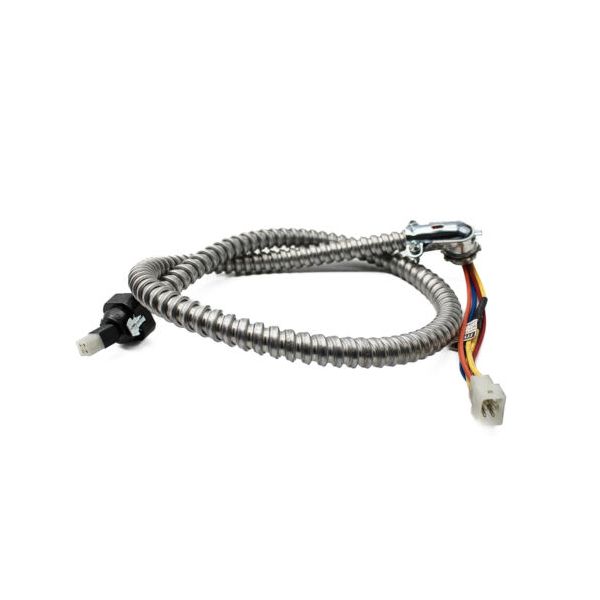
Velocity Boiler Works (Crown) 9601250 Damper Harness Assembly
Specifications
- Length: 5"
- Width: 1/2"
- Height: 3/4"
- Voltage: 24V
Loyalty ProgramElectrical Continuity:
The damper harness assembly maintains an electrical path between connected components through its wiring and connection elements. This path allows electrical signals to pass between the vent damper and associated boiler controls, providing the electrical interface required for communication between those components.
Boiler Sequence Integration:
Within the boiler heating sequence, the harness links the vent damper with the associated control network. This connection allows the damper assembly to operate as part of the boiler's programmed sequence while the control system coordinates the associated electrical and mechanical components. The harness provides connectivity within this sequence rather than performing the control logic itself.
Replacement Guidelines:
Replacement may be required when the damper harness assembly no longer maintains the intended electrical connection between the vent damper and associated boiler controls. When selecting the Velocity Boiler Works (Crown) 9601250 Damper Harness Assembly, verify the Velocity Boiler Works (Crown) manufacturer and 9601250 part number against the applicable boiler documentation, damper information, and control configuration.
Common Failure Symptoms:
Equipment Compatibility:
The Velocity Boiler Works (Crown) 9601250 Damper Harness Assembly is intended for Integrates with boiler applications using the corresponding damper and control configuration. Application should be confirmed using the specific boiler model, control configuration, manufacturer documentation, and applicable part information before selecting this component.
Technical Specifications:
Brand: Velocity Boiler Works (Crown)
Part Number: 9601250
Product Type: Damper Harness Assembly
Step1: Turn off power and gas to the boiler before starting.
Step2: Remove the access panel and disconnect the old damper harness.
Step3: Route the new harness in the same path and secure it with clips or ties.
Step4: Connect each wire to its matching terminal per the wiring diagram.
Step5: Ensure connections are tight and harness is clear of moving parts.
Step6: Restore power and test damper operation for correct response.