
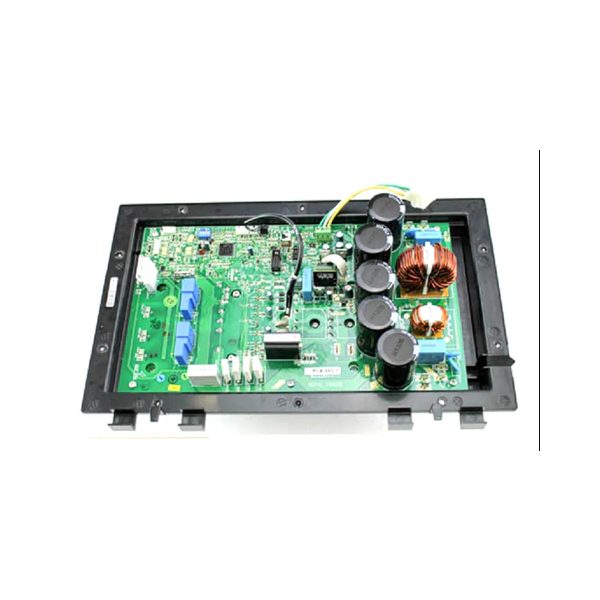
Nordyne 920996 3-Ton Replacement Inverter
Special Price $2,098.08 Regular Price $2,328.87
In stock
SKU
920996

The Nordyne 920996 3-Ton Replacement Inverter is an extended precision component which is designed to enhance the efficiency, energy conservation of heating and cooling equipment. This inverter technology allows the system to change its output power based on the heating or cooling demand of your space and hence save the energy. The Nordyne 920996 inverter is compatible with different HVAC systems including heat pumps and air conditioners. It works by fine tuning the speed of the motor to the required temperature eliminating the need for many start/stop cycles. This not only reduces energy, but also noise, and damage on the system as well.
Manufacturer:

Specifications
- Type: Inverter
- Capacity: 3-Ton