Facebook Pixel

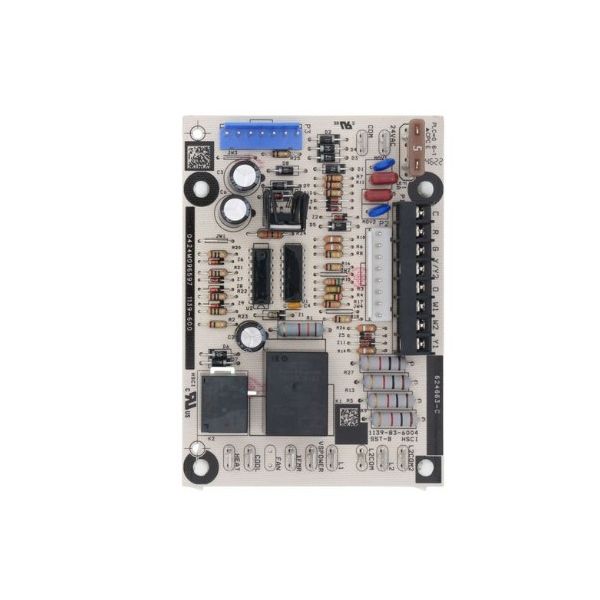
Nordyne 904531 Control Board

Special Price $109.61 Regular Price $126.05
In stock
SKU
904531
The Nordyne 904531 Control Board to control the operation of the blower coil unit is an essential component of HVAC systems. For heating and cooling, it regulates the blower motor ensuring the right airflow. As it replaces directly with the original one guaranteeing seamless fit and reliable operation. Moreover, when you swap out your old ineffective control board for a new Nordyne 904531, it will help revive your HVAC performance, enhance energy economy and increase comfort in your entire home.
https://www.partshnc.com/media/catalog/product/9/0/904531.jpg

Specifications

  • Type: Control Board
    Manufacturer Name: Nordyne
    Product Number: 904531
    OEM Part Number: 904531
    Product Description: Control Board
    Weight:0.61lbs/276.69g

    Choose the best HVAC equipment parts and supplies from PartsHnC!

    • Same Day Shipping

    • Best Quality And Best Price

    • Wide Range of Inventory

    • Best Customer Service

    Have More Questions or Need Help to Place The Order?
    Reach us at (866)773-0907 or [email protected]

    Write Your Own Review
    You're reviewing:Nordyne 904531 Control Board
    Your Rating
    Customer Questions
    What maintenance is required for the Nordyne 904531 Control Board?

    Check the control board for secure wiring and signs of heat damage or corrosion. Keep it clean and protected from dust and moisture. Inspect terminals and connectors periodically. Routine checks support maintain stable communication and proper system control operations.

    What are common issues with the Nordyne 904531 Control Board?

    • Failure to initiate heating or cooling cycles.
    • Burnt or damaged components on the board.
    • Loss of communication with thermostat or sensors.
    • Loose or corroded connections affecting signals.

    Installation Steps

    Step 1: Turn off power to the HVAC unit at the breaker for safety.

    Step 2: Remove the access panel to locate the existing control board.

    Step 3: Label and disconnect all wires carefully.

    Step 4: Unscrew and remove the old board.

    Step 5: Mount the new control board securely in place.

    Step 6: Reconnect wires to matching terminals.

    Step 7: Restore power and test system operation to ensure proper operations.