
Facebook Pixel

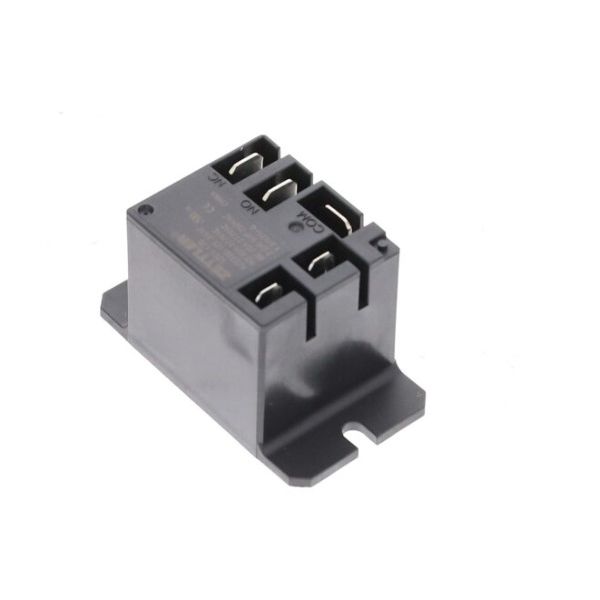
Bard HVAC 8201-130BX SPDT Relay Pilot Duty

Special Price $30.30 Regular Price $39.38
In stock
SKU
8201-130BX
The Bard HVAC 8201-130BX SPDT Relay Pilot Duty is a required part that controls electrical circuits in HVAC systems to be capable of properly switching the parts to make sure that they are operating correctly. This aspect operates by directing the current between circuits, and this provides safe and consistent operation in business and home spaces. Its effective construction provides the correct response during the normal weather conditions, minimizing the potential damage and providing stability of the system. It assists in enhancing the general control, as well as the energy management and operational efficiency of the heating and cooling systems.
https://www.partshnc.com/media/catalog/product/2/2/2222.jpg
Manufacturer Name: Bard HVAC
Product Number: 8201-130BX
OEM Part Number: 8201-130BX
Product Description: Relay Spdt Pilot Duty
Weight:0.19lbs/86.18g

Choose the best HVAC equipment parts and supplies from PartsHnC!

  • Same Day Shipping

  • Best Quality And Best Price

  • Wide Range of Inventory

  • Best Customer Service

Have More Questions or Need Help to Place The Order?
Reach us at (866)773-0907 or [email protected]

Write Your Own Review
You're reviewing:Bard HVAC 8201-130BX SPDT Relay Pilot Duty
Your Rating
Customer Questions
What maintenance is required for the Bard HVAC 8201-130BX Relay Pilot Duty?

Regularly inspect the relay for signs of wear, corrosion, or loose connections. Keep terminals clean and ensure proper voltage supply to prevent overheating. Periodically test switching performance to confirm reliability. Always disconnect power before servicing to avoid electrical hazards.

What are common issues with the Bard HVAC 8201-130BX Relay Pilot Duty?

  • Relay contacts sticking or failing to switch properly.
  • Coil failure due to voltage irregularities.
  • Overheating during extended operation.
  • Intermittent electrical connectivity.
  • Contact wear leading to reduced performance.

Installation Steps

Step 1: Turn off all electrical power to the HVAC unit and check zero voltage before servicing.

Step 2: Remove access panel and note existing relay wiring configuration for reference.

Step 3: Carefully unplug or disconnect the old relay from its socket or terminals.

Step 4: Insert the new relay securely, ensuring proper orientation and full seating.

Step 5: Reconnect all control and load wiring according to the system schematic.

Step 6: Restore power and test system operation, confirming proper switching of fans, dampers, or control circuits without chatter or failure.