Facebook Pixel

Hoffman Controls 816-10DH Head Pressure Control 10A 24V/120-600V

Special Price $209.51 Regular Price $232.55
In stock
SKU
816-10DH

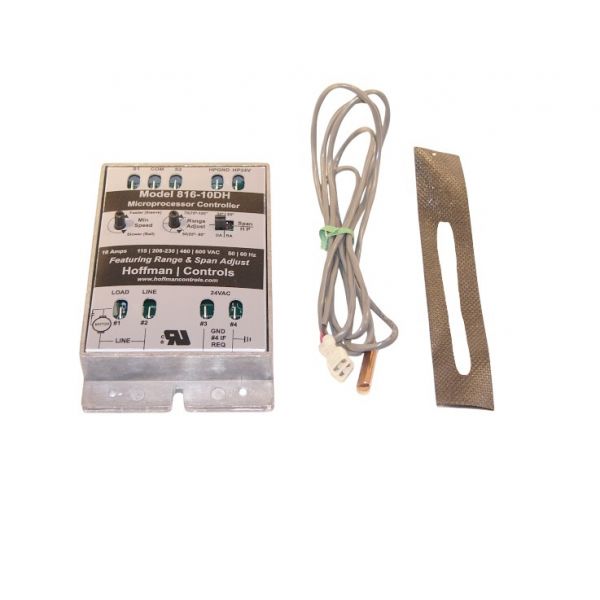
A head pressure controller made to maximize effectiveness and safeguard your HVAC system is the Hoffman Controls 816-10DH. This little unit uses condensers with 120–600V, and 10A motors and runs on 24V AC. It regulates head pressure in low ambient settings by varying the condenser fan speed dependent on the temperature of the liquid line. The 816-10DH prevents excessive subcooling, which can result in decreased system performance and possible damage, by regulating airflow through the condenser. This results in decreased energy expenses, longer equipment lifespans, and better system performance all around. Put simply, the 816-10DH looks out for your HVAC system like a smart protector.

Manufacturer:
https://www.partshnc.com/media/catalog/product/8/1/816-10dh.jpg
Manufacturer Name: Hoffman Controls
Product Number: 816-10DH
OEM Part Number: 816-10DH
Product Description: 24V;120-600V 10A Head # Cntrl
Weight:0.91lbs/412.77g

Choose the best HVAC equipment parts and supplies from PartsHnC!

  • Same Day Shipping

  • Best Quality And Best Price

  • Wide Range of Inventory

  • Best Customer Service

Have More Questions or Need Help to Place The Order?
Reach us at (866)773-0907 or [email protected]

Write Your Own Review
You're reviewing:Hoffman Controls 816-10DH Head Pressure Control 10A 24V/120-600V
Your Rating
Customer Questions
What maintenance is required for the Hoffman Controls 816-10DH Head Pressure Control?

Regularly inspect the unit for dust, corrosion, and loose wiring connections. Test the control periodically to ensure accurate pressure readings. Proper maintenance ensures safe operation and prevents electrical faults. Always power down before servicing.

What are common issues with the Hoffman Controls 816-10DH Head Pressure Control?

  • Incorrect pressure readings.
  • Electrical connection failures.
  • Switch contacts sticking or burning.
  • Control failing to actuate at set thresholds.

Installation Steps

Step1: Turn off power to the system before starting.

Step2: Remove any access panels to reach the existing head pressure control.

Step3: Disconnect the old control, noting all wire connections.

Step4: Install the new unit in the same position and reconnect wires securely.

Step5: Ensure the control is mounted properly and terminals are tight.

Step6: Restore power and test system operation while following all safety precautions.