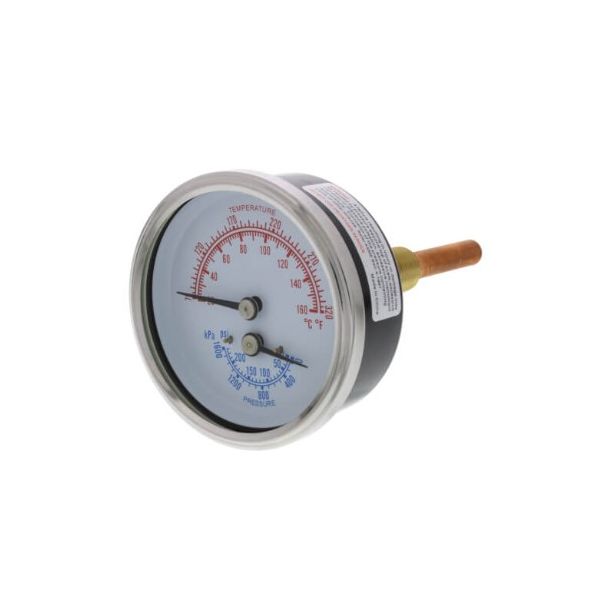
Laars Heating Systems RA0079000 Temperature & Pressure Gauge 70°F-250°F 0-225 PSI
Special Price $105.48 Regular Price $121.30
In stock
SKU
RA0079000

The Laars Heating Systems RA0079000 Temperature & Pressure Gauge measures boiler and hydronic heating system temperature from 70 to 250 degrees Fahrenheit and pressure from 0 to 225 pounds per square inch to ensure safe operation. This product gives precise real-time measurements which help users avoid system overheating and dangerous pressure surges. The device functions perfectly in both commercial and residential HVAC systems by improving system security and simplifying maintenance for optimized performance which decreases the system breakdown while maximizing heating efficiency.
Manufacturer: