Facebook Pixel

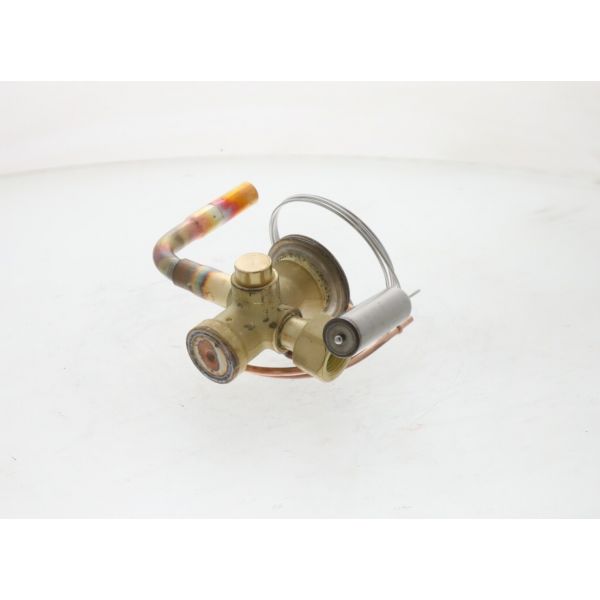
Nordyne 669770 2-3 Ton Thermal Expansion Valve R-410A

Special Price $103.58 Regular Price $119.12
In stock
SKU
669770
The Nordyne 669770 2-3 Ton Thermal Expansion Valve R-410A is a fundamental part of the HVAC system that controls the refrigerant flow. This valve helps in monitoring the evaporator’s temperature and adjusting refrigerant flow as required for cooling purposes to be maximized. This valve is compatible with HVAC systems between 2 and3 tons running on R-410A refrigerant popularly used in most homes’. It has several advantages such as precision handling of temperatures, energy saving, reduced wear and tear of system components among others resulting to longer life of the machine. It regulates suitable refrigerant flow which also contributes to enhanced efficiacy and comfortability.
Manufacturer:

https://www.partshnc.com/media/catalog/product/6/6/669770.jpg

Specifications

  • Type: Thermal Expansion Valve
  • Capacity: 2-3 Ton
  • Refrigent Type: R-410A
Manufacturer Name: Nordyne
Product Number: 669770
OEM Part Number: 669770
Product Description: 2-3 Ton R410a Txv
Weight:0.76lbs/344.73g

Choose the best HVAC equipment parts and supplies from PartsHnC!

  • Same Day Shipping

  • Best Quality And Best Price

  • Wide Range of Inventory

  • Best Customer Service

Have More Questions or Need Help to Place The Order?
Reach us at (866)773-0907 or [email protected]

Write Your Own Review
You're reviewing:Nordyne 669770 2-3 Ton Thermal Expansion Valve R-410A
Your Rating
Customer Questions
What maintenance is required for the Nordyne 669770 Thermal Expansion Valve?

Inspect the valve body and refrigerant lines for leaks, oil residue, or vibration-related loosening. Ensure the sensing bulb is firmly attached to the suction line and properly insulated for accurate superheat control. Keep surrounding components clean and verify stable mounting to support consistent refrigerant regulation.

What are common issues with the Nordyne 669770 Thermal Expansion Valve?

  • Improper refrigerant flow causing poor cooling performance.
  • Sticking or restricted valve operation affecting pressure balance.
  • Incorrect sensing bulb placement leading to inaccurate superheat control.
  • Underfeeding or overfeeding of evaporator coil.
  • System short cycling due to unstable refrigerant control.

Installation Steps

Step 1: Turn off power, recover refrigerant safely, wear PPE.

Step 2: Remove access panel and isolate refrigerant lines.

Step 3: Remove old valve, note bulb placement and orientation.

Step 4: Install new TXV in correct flow direction and braze using nitrogen purge.

Step 5: Reattach sensing bulb, insulate, and secure.

Step 6: Vacuum system, perform leak test, then recharge to specification and verify superheat.

Step 7: Ensure compliance with handling standards.