
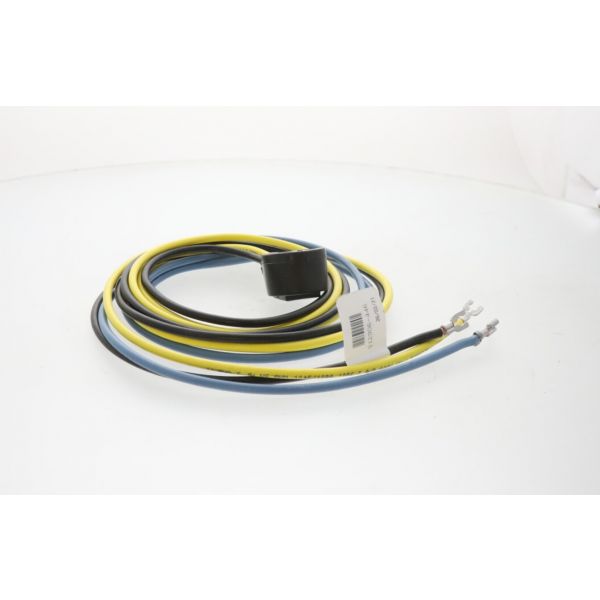
Carrier 312906-446 Compressor Plug 62 " Leads 10 AWG
Special Price $66.07 Regular Price $75.98
Out of stock
SKU
312906-446

The Carrier 312906-446 Compressor-Plug for a safe connection point between your Carrier compressor and the wiring of the HVAC system. Integrating neatly into your Carrier equipment, this compact unit boasts lengthy 10 AWG wires The Carrier compressor plug plenty of length to make secure connections in your HVAC system It as a conduit, assuresing a supply of electricity to the compressor, an essential element for refrigerant flow and heat exchange in your Carrier HVAC system. This makes it possible to have the results when it comes to the resources in your home.
Manufacturer:

Specifications
- Length: 5.7 "
- Width: 6.4 "
- Height: 0.9 "
- Weight: 0.93lbs
- Lead Length: 62 "
- Wire Gauge: 10