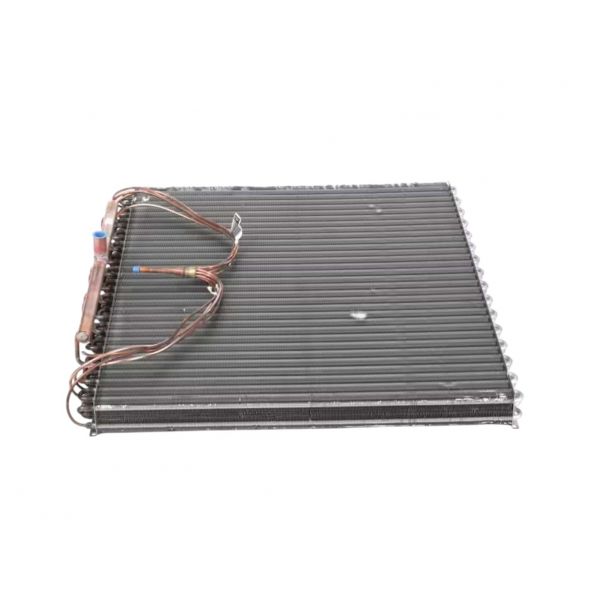
ClimateMaster 61B0160N70 3-Row Air Coil 32x25 Tin-Plated

The ClimateMaster 61B0160N70 is a replacement air coil intended for home HVAC systems. Cooler air is circulated back into your living area as warm air from your house travels through the coil and is absorbed by a refrigerant that is constantly flowing inside. With its 32 x 25-inch dimensions, the 61B0160N70 has three rows of heat exchange fins. By maximizing surface area, its design ensures maximum cooling performance through efficient heat transfer. The coil also has the advantage of a tin-plated surface, which provides improved corrosion resistance and increases its longevity, guaranteeing dependable performance for many years to come. You can anticipate better results if you use the ClimateMaster 61B0160N70 in place of an outdated or broken air coil.