
Facebook Pixel

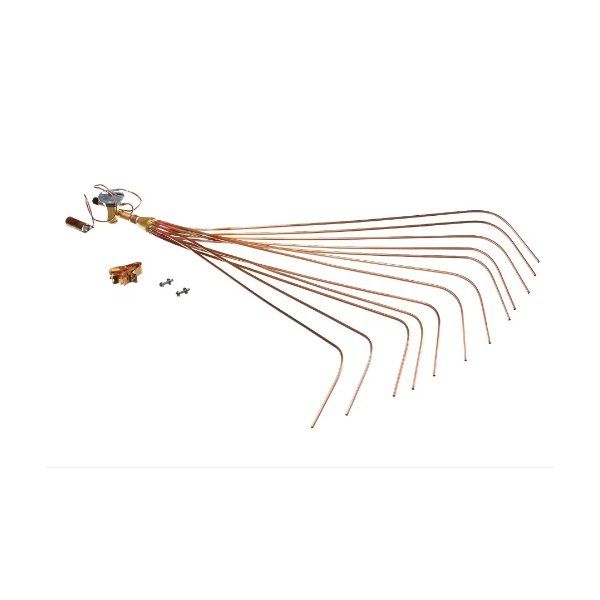
Rheem-Ruud 61-101351-14 Thermal Expansion Valve 3/8" R-410A

Special Price $303.33 Regular Price $436.95
In stock
SKU
61-101351-14
The Rheem-Ruud 61-101351-14 Thermal Expansion Valve (TXV) happens to be one crucial component among others in HVACs that apply R-410A refrigerant. When this valve enters the evaporator coil then it guarantees that there are no hitches throughout the system thereby allowing it to have the better possible cooling. It has a size and type of sweat input fitting measuring 3/8", hence suitable for various HVAC units including heat pumps and air conditioners. This avoids both high feeding or low feeding of refrigerant which can lead to serious problems including ineffective cooling or damage to such systems.
Manufacturer:

https://www.partshnc.com/media/catalog/product/6/1/61-101351-14_rheem-ruud_partshnc.jpg

Specifications

  • Weight: 4 lbs
  • Type: Thermal Expansion Valve
  • Inlet Fitting Type: Sweat
  • Size: 3/8"
Manufacturer Name: Rheem-Ruud
Product Number: 61-101351-14
OEM Part Number: 61-101351-14
Product Description: 3/8 Inch Expansion Valve R-410A
Weight:4lbs/1814.37g

Choose the best HVAC equipment parts and supplies from PartsHnC!

  • Same Day Shipping

  • Best Quality And Best Price

  • Wide Range of Inventory

  • Best Customer Service

Have More Questions or Need Help to Place The Order?
Reach us at (866)773-0907 or [email protected]

Write Your Own Review
You're reviewing:Rheem-Ruud 61-101351-14 Thermal Expansion Valve 3/8" R-410A
Your Rating
Customer Questions
What maintenance is required for the Rheem-Ruud 61-101351-14 Thermal Expansion Valve?

Regularly inspect the valve for leaks or corrosion. Ensure connections are tight and clean from debris. Proper maintenance helps maintain refrigerant flow and system efficiency. Always follow safety protocols when handling refrigerants.

What are common issues with the Rheem-Ruud 61-101351-14 Thermal Expansion Valve?

  • Refrigerant leaks at connections.
  • Improper pressure or flow regulation.
  • Valve sticking or clogging.
  • Reduced cooling performance.

Installation Steps

Step 1: Turn off power and recover refrigerant using certified equipment and safety protection.

Step 2: Access evaporator coil and remove old expansion valve, noting bulb placement.

Step 3: Install new valve in correct flow direction, braze connections with nitrogen purge.

Step 4: Leak test, then evacuate system to deep vacuum.

Step 5: Recharge refrigerant to manufacturer specs and secure sensing bulb.

Step 6: Restore power and verify superheat and cooling performance.