Facebook Pixel

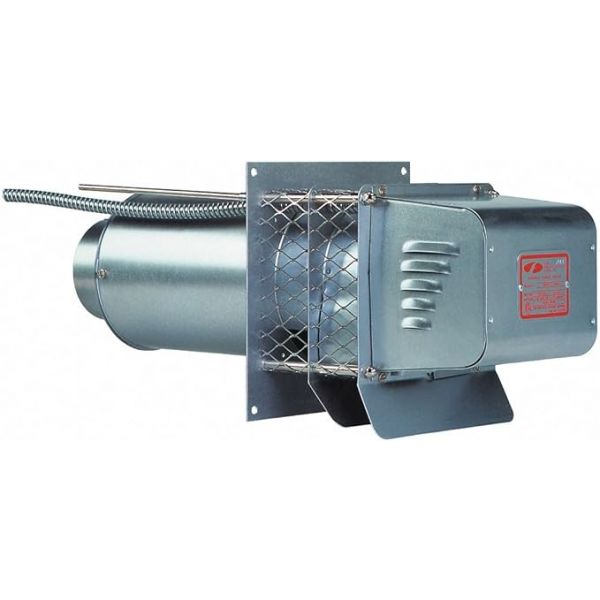
Field Controls 46275400 4" Power Ventor SWG-4HD

Special Price $628.95 Regular Price $698.14
In stock
SKU
46275400
The Field Controls 46275400 Power Ventor SWG-4HD is a draft assistance equipment that is used to circulate the combustion gases through the venting system in a safe manner. It operates on a motor-driven fan system that has a 4-inch vent connection to establish a controlled negative pressure to force the exhaust gases out of the heating unit and through the flue during the operation in gas furnaces and boiler HVAC systems. The ventor is attached in the vent pipe between the appliance and the termination point and attached to the control circuit which turns the ventor on during the heating cycle.
https://www.partshnc.com/media/catalog/product/4/6/46275400_1.jpg

Specifications

  • Type: Power Venter
  • Size: 5 inch
Manufacturer Name: Field Controls
Product Number: 46275400
OEM Part Number: 46275400
Product Description: Swg-4Hd 4" Power Ventor
Weight:15.15lbs/6871.92g

Choose the best HVAC equipment parts and supplies from PartsHnC!

  • Same Day Shipping

  • Best Quality And Best Price

  • Wide Range of Inventory

  • Best Customer Service

Have More Questions or Need Help to Place The Order?
Reach us at (866)773-0907 or [email protected]

Write Your Own Review
You're reviewing:Field Controls 46275400 4" Power Ventor SWG-4HD
Your Rating
Customer Questions
What maintenance is required for the Field Controls 46275400 Power Ventor?

Regularly inspect the ventor motor and blower for dust buildup and clean as needed to ensure airflow. Check electrical connections for tightness and corrosion. Ensure venting is clear of obstructions for safe combustion and accurate operation.

What are common issues with the Field Controls 46275400 Power Ventor?

  • Motor overheating or failure due to worn bearings.
  • Reduced airflow from clogged vent or blower wheel.
  • Electrical control faults causing intermittent operation.
  • Excessive vibration or noise during startup.
  • Air pressure switch errors leading to shutdowns.

Installation Steps

Step 1: Turn off power and gas supply before installation to prevent shock or leaks.

Step 2: Remove the existing old ventor and disconnect wiring and flue connections carefully.

Step 3: Mount securely on flue pipe ensuring proper alignment and sealing.

Step 4: Connect electrical wiring per manufacturer diagram and secure all connections.

Step 5: Reattach new ventor vent piping ensure no gaps or exhaust leaks.

Step 6: Restore power and test operation checking for smooth draft and unusual noise.