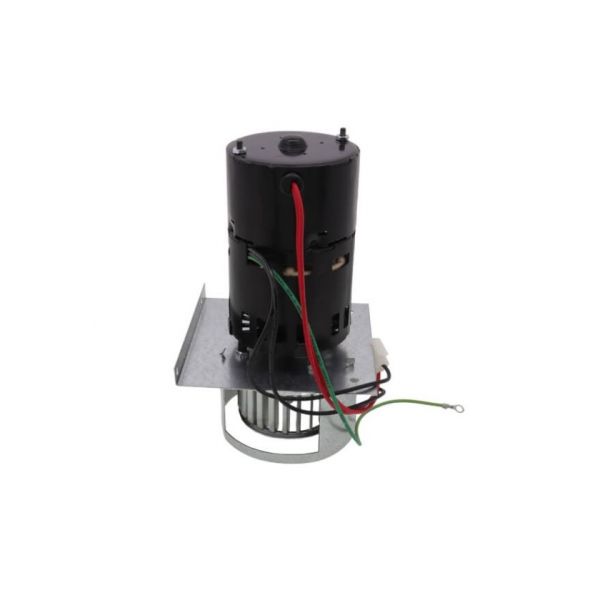
Nordyne 462432R Inducer Assembly
Specifications
- Application: Gas furnaces
- Type: Inducer Assembly
Loyalty ProgramA gas furnace relies on an inducer assembly to support the movement of combustion gases through the exhaust pathway. The Nordyne 462432R Inducer Assembly creates the draft needed to move gases from the combustion area toward the designated venting path. Positioned within the furnace's induced-draft section, it supports the furnace's combustion and exhaust process during operation.
Inducer Fan and Draft Generation:
The assembly uses a HVAC motor-driven fan to generate the airflow needed for the furnace's induced-draft process. As the fan moves air through the assembly, it creates the draft that carries combustion gases away from the burner area. This establishes the airflow path required for the furnace's exhaust process.
Combustion Gas Movement and Venting:
The generated draft directs combustion gases from the furnace toward the designated exhaust pathway. The assembly maintains this movement through the venting route during the heating sequence, supporting the furnace's combustion and exhaust functions.
Replacement Guidelines:
Replacement may be appropriate when the Inducer Assembly develops abnormal fan movement or shows physical deterioration that affects its intended operation. Before ordering, compare the existing 462432R part number with the applicable furnace requirements and verified specifications.
Common Signs of Wear:
Equipment Compatibility:
The inducer assembly is intended for applicable Nordyne gas furnace applications requiring the corresponding inducer configuration. Before purchasing, compare the existing assembly's part number, furnace model, and physical configuration with the applicable furnace requirements.
Technical Specifications:
Brand: Nordyne
Part Number: 462432R
Product Type: Inducer Assembly
Step 1: Turn off power and gas supply to the HVAC system.
Step 2: Remove the access panel to reach the old inducer assembly.
Step 3: Disconnect wiring and venting from the old unit.
Step 4: Remove mounting screws and carefully take out the old assembly.
Step 5: Install the new inducer assembly in the same position and secure with screws.
Step 6: Reconnect wiring and venting according to original setup.
Step 7: Turn on power and gas, test operation, and check for proper airflow.