Facebook Pixel

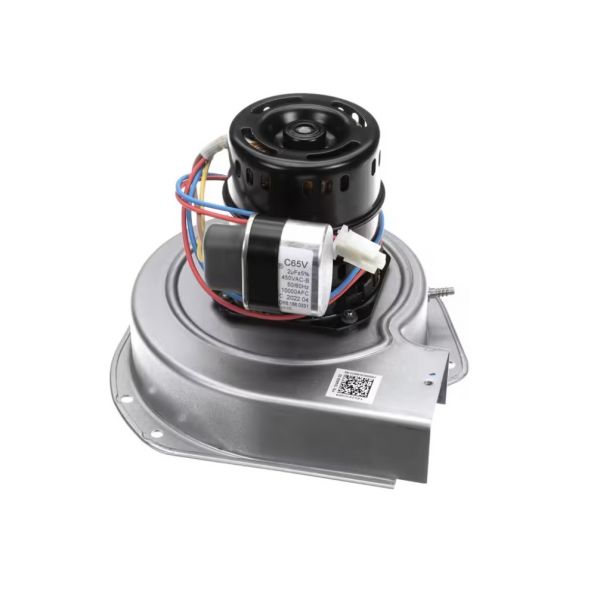
Lennox 13U30 Inducer Assembly 460V

Special Price $101.36 Regular Price $116.57
In stock
SKU
13U30
The Lennox 13U30 Inducer Assembly serves an essential part in industrial HVAC systems through its operation at 460V voltage. This designed inducer assembly optimizes HVAC systems airflow through its efficient exhaust gas removal from furnaces which directs exhaust outside the system for optimal combustion performance and ventilation. The inducer assembly features a durable construction that enables it to perform well under tough operating situations making it suitable for use in manufacturing sites as well as commercial buildings and educational and healthcare facilities. The features improved air circulation capabilities that result in enhanced heating and cooling performance and lead to lower energy bills while delivering comfort to indoor spaces.
Manufacturer:

https://www.partshnc.com/media/catalog/product/1/3/13u30.jpg

Specifications

  • Type: Inducer Assembly
  • Voltage: 460V
Manufacturer Name: Lennox
Product Number: 13U30
OEM Part Number: 13U30
Product Description: 460V Inducer Assy
Weight:6.48lbs/2939.28g

Choose the best HVAC equipment parts and supplies from PartsHnC!

  • Same Day Shipping

  • Best Quality And Best Price

  • Wide Range of Inventory

  • Best Customer Service

Have More Questions or Need Help to Place The Order?
Reach us at (866)773-0907 or [email protected]

Write Your Own Review
You're reviewing:Lennox 13U30 Inducer Assembly 460V
Your Rating
Customer Questions
What maintenance is required for the Lennox 13U30 Inducer Assembly?

Regularly inspect the inducer assembly motor for dust buildup, loose wiring, and wear on bearings. Ensure the vent system is clear for proper exhaust airflow. Periodic cleaning and tightening connections assist overheating and improve combustion safety and efficiency.

What are common issues with the Lennox 13U30 Inducer Assembly?

  • Motor failure or seized bearings causing startup failure.
  • Restricted airflow or blocked vent causing poor draft.
  • Electrical connection failure causing intermittent operation.
  • Excessive noise vibration indicating mechanical imbalance.
  • Overheating shutdowns due to thermal stress.

Installation Steps

Step 1: Turn off electrical supply and confirm no voltage is present, allow system to cool fully.

Step 2: Remove access panel and disconnect wiring and mounting hardware from old inducer assembly.

Step 3: Position new inducer unit into housing alignment points.

Step 4: Secure bolts evenly and reconnect wiring terminals per diagram.

Step 5: Restore power and check rotation direction, airflow, and smooth startup operation without unusual noise or vibration.