
Facebook Pixel

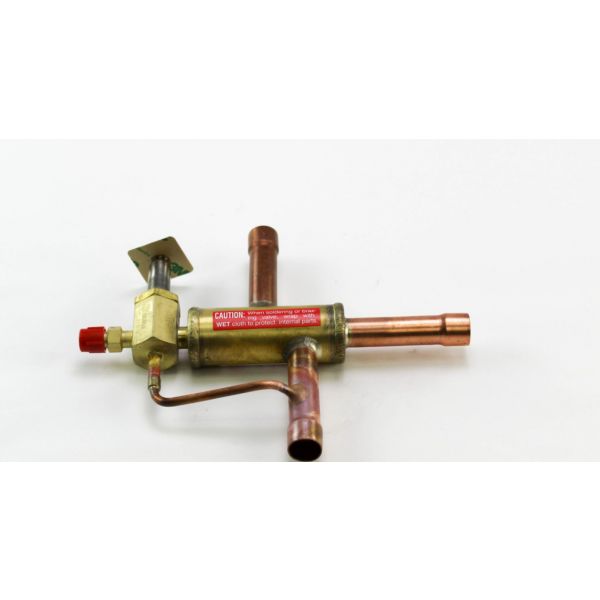
Lennox 44L42 3-Way Heat Reclaim Valve

Special Price $756.41 Regular Price $1,262.95
In stock
SKU
44L42
The Lennox 44L42 3-way heat reclaim valve is a crucial piece of equipment to certain Lennox HVAC systems. In terms of energy efficiency it optimizes water flow between the heating and hot water systems. The valve redirects those hot waters in response to demand. In principle it can help save energy because reusable heat can be used. The valve is toughed out with durability materials so that it can withstand its maximum pressure 400 PSI. It is relatively and operates on a safe low voltage of 24V. This valve is 5/8 Inches so be sure to check compatibility before installation.
Manufacturer:

https://www.partshnc.com/media/catalog/product/4/4/44l42.jpg

Specifications

  • Weight:1.76lbs
  • Measure:Unit
  • Size: 5/8 Inches
  • Pressure: 400 PSI
  • Voltage: 24V
Manufacturer Name: Lennox
Product Number: 44L42
OEM Part Number: 44L42
Product Description: Reheat Valve
Weight:1.76lbs/798.32g

Choose the best HVAC equipment parts and supplies from PartsHnC!

  • Same Day Shipping

  • Best Quality And Best Price

  • Wide Range of Inventory

  • Best Customer Service

Have More Questions or Need Help to Place The Order?
Reach us at (866)773-0907 or [email protected]

Write Your Own Review
You're reviewing:Lennox 44L42 3-Way Heat Reclaim Valve
Your Rating
Customer Questions
What maintenance is required for the Lennox 44L42 Heat Reclaim Valve?

Inspect the valve and actuator regularly for refrigerant leaks and wear. Ensure electrical connections are secure and control signals respond correctly. Clean external debris and verify smooth operation to maintain efficient heat recovery performance and system stability.

What are common issues with the Lennox 44L42 Heat Reclaim Valve?

  • Refrigerant leakage.
  • Actuator failure or sticking.
  • Valve sticking or blockage.
  • Improper heat transfer performance.
  • Sensor or signal miscommunication.

Installation Steps

Step 1: Turn off electrical power and refrigerant circuit; apply lockout/tagout and check zero voltage.

Step 2: Wear insulated gloves and recover refrigerant if system is opened.

Step 3: Remove old valve, noting refrigerant line orientation and coil wiring.

Step 4: Install new valve, brazing connections with nitrogen purge to secure oxidation.

Step 5: Mount solenoid coil securely and reconnect wiring terminals.

Step 6: Pressure test for leaks, then evacuate system to required vacuum level.

Step 7: Restore power and check heat reclaim operation and refrigerant flow.