Facebook Pixel

Daikin-McQuay 4018364 Thermister Assembly

Special Price $26.05 Regular Price $33.87
In stock
SKU
4018364
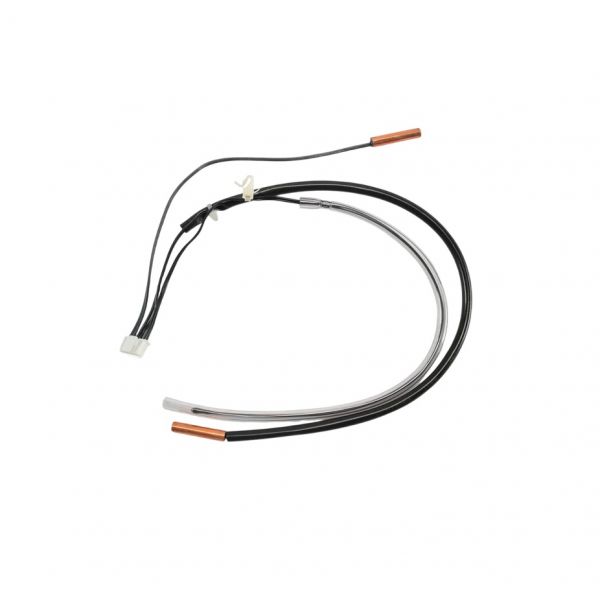
The Daikin-McQuay 4018364 Thermistor Assembly is a component to detect temperature variations and relay correct signals to control the system that is applied in the HVAC systems. This assembly works by changing the values of resistance depending on the conditions around, and this enables the control boards to control the heating or cooling output. This part of the temperature monitoring concept aids in controlling the performance of the system, aiding in the maintenance of stable operating conditions, and facilitating stable interaction between the sensing and regulation components.
https://www.partshnc.com/media/catalog/product/4/0/4018364.jpg
Manufacturer Name: Daikin-McQuay
Product Number: 4018364
OEM Part Number: 4018364
Product Description: Thermister Assy
Weight:0.06lbs/27.22g

Choose the best HVAC equipment parts and supplies from PartsHnC!

  • Same Day Shipping

  • Best Quality And Best Price

  • Wide Range of Inventory

  • Best Customer Service

Have More Questions or Need Help to Place The Order?
Reach us at (866)773-0907 or [email protected]

Write Your Own Review
You're reviewing:Daikin-McQuay 4018364 Thermister Assembly
Your Rating
Customer Questions
What maintenance is required for the Daikin-McQuay 4018364 Thermister Assembly?

Regularly inspect the thermister assembly for dust, dirt, or loose wiring. Ensure the sensor is clean and properly connected to maintain accurate temperature readings. Proper maintenance prevents incorrect HVAC responses and enhances system efficiency. Always disconnect power before servicing.

What are common issues with the Daikin-McQuay 4018364 Thermister Assembly?

  • Inaccurate temperature readings.
  • Intermittent sensor signals.
  • Loose or damaged wiring.
  • System not responding correctly to temperature changes.

Installation Steps

Step1: Turn off power to the HVAC system to ensure safety.

Step2: Locate and remove the existing thermistor assembly carefully.

Step3: Install the new thermistor assembly in the same position, securing it properly.

Step4: Reconnect all wiring according to the configuration.

Step5: Ensure the sensor is properly positioned for accurate temperature readings.

Step6: Restore power and test the system to confirm correct operation.