Facebook Pixel

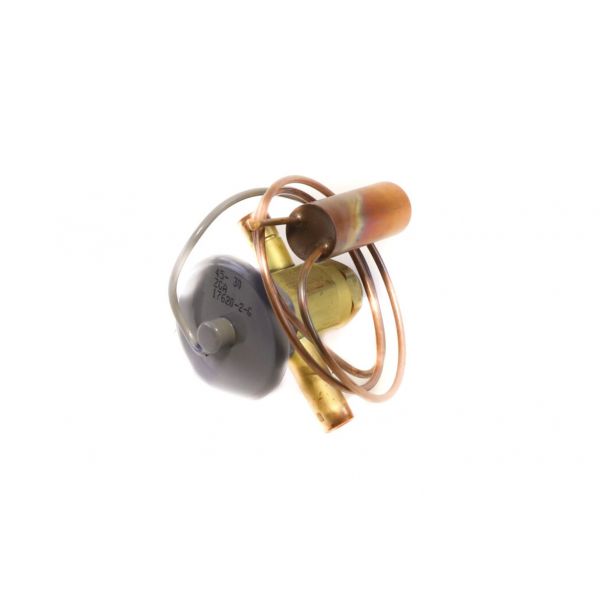
Rheem-Ruud 61-102211-18 3-Ton Thermal Expansion Valve 3/8" x 3/8" R-410A

Special Price $96.43 Regular Price $110.89
In stock
SKU
61-102211-18
The Rheem-Ruud 61-102211-18 is an essential part of air conditioning and heat pump devices in residential and light industrial usage. This thermal expansion valve (TXV) regulates the quantity of coolant which is allowed to pass through the system to enhance the performance and efficiency of the system. It is designed for 3-ton cooling capacity with R-410A refrigerant refrigerant and has low profile 3/8”×3/8” construction. The TXV controls the rate of circulation of refrigerant depending on the evaporation temperature. This keeps the superheat constant and more essentially, there is no ingress of refrigerant fluid into the compressor and hence damaging the system.
Manufacturer:

https://www.partshnc.com/media/catalog/product/6/1/61-102211-18.jpg

Specifications

  • Type: Thermal Expansion Valve
  • Valve Dimension: 3/8" X 3/8"
  • Cooling Capacity: 3-Ton
  • Refrigeration Type: R-410A
  • Weight: 0.93lbs
Manufacturer Name: Rheem-Ruud
Product Number: 61-102211-18
OEM Part Number: 61-102211-18
Product Description: 3/8X3/8 R-410A 3Ton Txv
Weight:0.93lbs/421.84g

Choose the best HVAC equipment parts and supplies from PartsHnC!

  • Same Day Shipping

  • Best Quality And Best Price

  • Wide Range of Inventory

  • Best Customer Service

Have More Questions or Need Help to Place The Order?
Reach us at (866)773-0907 or [email protected]

Write Your Own Review
You're reviewing:Rheem-Ruud 61-102211-18 3-Ton Thermal Expansion Valve 3/8" x 3/8" R-410A
Your Rating
Customer Questions
What maintenance is required for the Rheem-Ruud 61-102211-18 Thermal Expansion Valve?

Inspect regularly for refrigerant flow stability and proper superheat control. Keep system lines clean and free of moisture or debris. Ensure correct refrigerant charge and check for leaks.

What are common issues with the Rheem-Ruud 61-102211-18 Thermal Expansion Valve?

  • Improper refrigerant flow causing unstable cooling performance.
  • Valve clogging or restriction from debris or contamination.
  • Incorrect superheat settings leading to poor efficiency.
  • Internal sensing bulb failure causing erratic pressure control.

Installation Steps

Step 1: Switch off system power and recover refrigerant before starting.

Step 2: Remove existing valve and clean both line ends for proper sealing.

Step 3: Position new valve and braze inlet and outlet connections carefully to avoid leaks.

Step 4: Attach sensing bulb tightly to suction line and wrap with insulation for stable reading.

Step 5: Evacuate system, recharge refrigerant and check cooling performance along with joint tightness.