Facebook Pixel

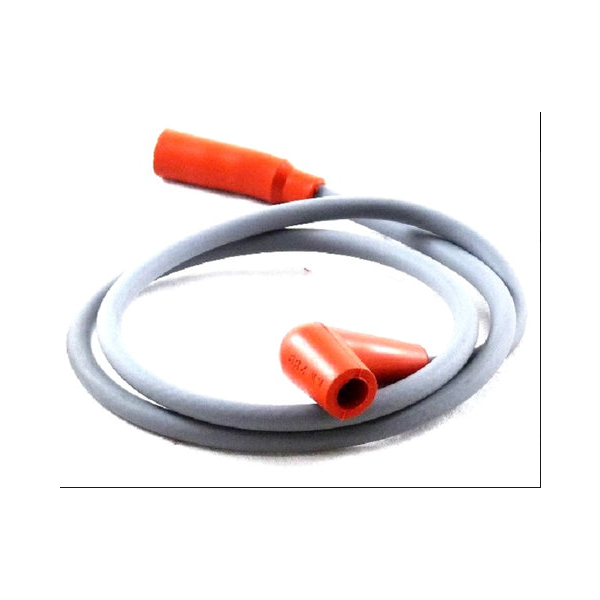
Honeywell 32004766-006 36" Ignition Cable Assembly 90°Boot

Special Price $25.21 Regular Price $32.78
In stock
SKU
32004766-006
The Honeywell 32004766-006 36" Ignition Cable Assembly 90° Boot provides ignition voltage to the burner to assist in the provision of a steady spark in the start-up process. This assembly operates by conducting electrical energy through an insulated conductor, and this gives consistent ignition operation in domestic and commercial heating units. It operates under stable conditions of the normal climate and reduces the risks of misfire and potential damage. The angled boots are designed to make sure that the routing is secure with the right clearance and sound electrical connection during heating cycles.
Manufacturer:

https://www.partshnc.com/media/catalog/product/3/2/32004766-006_honeywell_partshnc.png
Manufacturer Name: Honeywell
Product Number: 32004766-006
OEM Part Number: 32004766-006
Product Description: 36" Ign.Cable Assbly, 90'Boot
Weight:0.18lbs/81.65g

Choose the best HVAC equipment parts and supplies from PartsHnC!

  • Same Day Shipping

  • Best Quality And Best Price

  • Wide Range of Inventory

  • Best Customer Service

Have More Questions or Need Help to Place The Order?
Reach us at (866)773-0907 or [email protected]

Write Your Own Review
You're reviewing:Honeywell 32004766-006 36" Ignition Cable Assembly 90°Boot
Your Rating
Customer Questions
What maintenance is required for the Honeywell 32004766-006 Ignition Cable Assembly?

Inspect ignition cable for cracks, damage, or loose connections. Clean terminals to prevent corrosion and ensure reliable spark transfer for better ignition. Regular maintenance improves performance and reduces misfiring risks; always disconnect power before servicing.

What are common issues with the Honeywell 32004766-006 Ignition Cable Assembly?

  • Weak or intermittent ignition spark due to cable degradation.
  • Cracked insulation causing electrical leakage or grounding issues.
  • Loose or corroded boot connection leading to misfires.
  • Heat damage affecting cable conductivity and performance.

Installation Steps

Step 1: Shut off power and gas supply to the system and confirm it is fully de-energized.

Step 2: Allow the unit to cool completely before opening access panels.

Step 3: Remove existing ignition cable from control module and igniter carefully.

Step 4: Route the new cable away from hot surfaces and sharp edges.

Step 5: Securely connect boot ends to igniter and control terminal.

Step 6: Restore power and gas, then test ignition sequence for proper spark.