Facebook Pixel

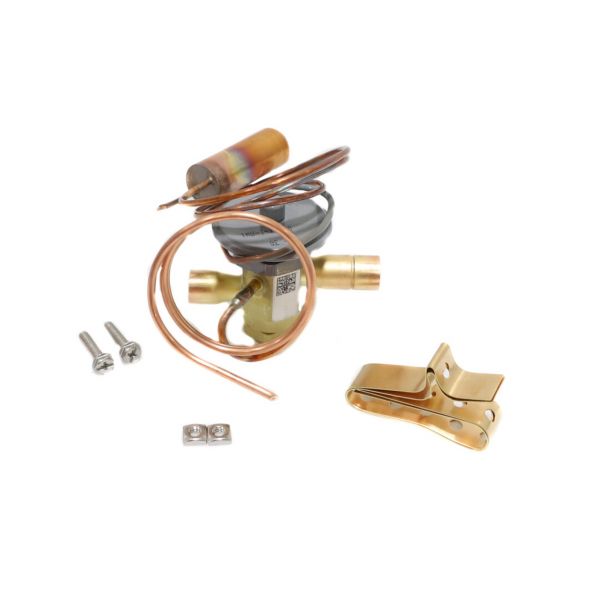
ClimateMaster 33B0043N09 3-Ton Thermal Expansion Valve (TXV) 1/2" ODF 30"Capillary 15% Bleed

Special Price $135.63 Regular Price $155.97
In stock
SKU
33B0043N09
The ClimateMaster 33B0043N09 3-Ton Thermal Expansion Valve regulates the amount of refrigerant in AC and heat pumps. The bulb measures the evaporator of the temperature and varies the flow of refrigerant depending on the cooling requirements. This TXV has a 3-ton capacity, 1/2” ODF connection, 30” capillary tube, and 15% of bleed. The bleed feature is beneficial for stable work at low loads. Advantages include increased productivity, better temperature regulation, and increased system performance in residential light heating and cooling in HVAC systems.
Manufacturer:

https://www.partshnc.com/media/catalog/product/3/3/33b0043n09.jpg

Specifications

  • Type: Thermal Expansion Valve
  • Capacity: 3-Ton
  • Connection Size: 1/2" ODF
  • Capillary Length: 30"
  • Bleed Feature: 15% Bleed
Manufacturer Name: ClimateMaster
Product Number: 33B0043N09
OEM Part Number: 33B0043N09
Product Description: 1/2"Odf 3Ton 15Bld 30"Cap Txv
Weight:1.01lbs/458.13g

Choose the best HVAC equipment parts and supplies from PartsHnC!

  • Same Day Shipping

  • Best Quality And Best Price

  • Wide Range of Inventory

  • Best Customer Service

Have More Questions or Need Help to Place The Order?
Reach us at (866)773-0907 or [email protected]

Write Your Own Review
You're reviewing:ClimateMaster 33B0043N09 3-Ton Thermal Expansion Valve (TXV) 1/2" ODF 30"Capillary 15% Bleed
Your Rating
Customer Questions
What maintenance is required for the ClimateMaster 33B0043N09 Thermal Expansion Valve?

Regularly inspect the valve for refrigerant leaks, corrosion, or blockages. Ensure the sensing bulb is securely attached and properly insulated. Keep surrounding components clean to prevent debris interference. Proper upkeep helps maintain accurate refrigerant flow and safe, efficient system operation.

What are common issues with the ClimateMaster 33B0043N09 Thermal Expansion Valve?

  • Valve sticking or failing.
  • Refrigerant leaks at connections or valve body.
  • Blockages from debris causing restricted flow.
  • Erratic system cooling performance.

Installation Steps

Step 1: Turn off power and recover refrigerant safely before starting.

Step 2: Remove the old TXV and clean the connection points.

Step 3: Position the new TXV with correct flow direction.

Step 4: Braze connections carefully using nitrogen purge to prevent oxidation.

Step 5: Attach the sensing bulb securely to the suction line.

Step 6: Insulate the bulb and connections properly.

Step 7: Evacuate system, recharge refrigerant, and check for leaks.