
Facebook Pixel

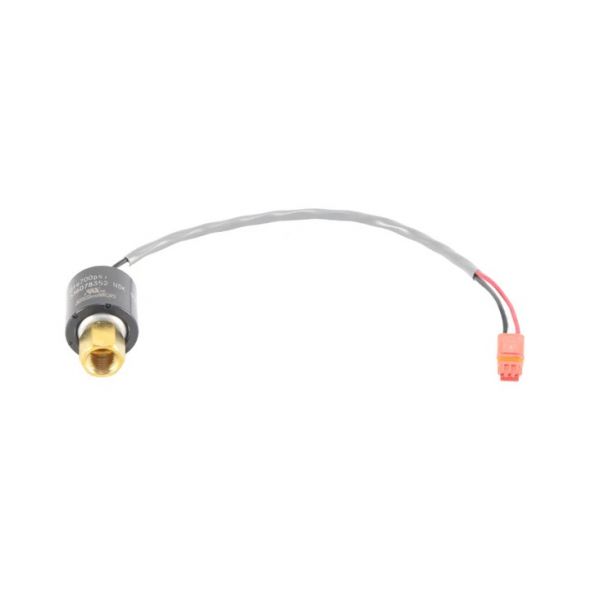
Daikin-McQuay 336078352 PSR Transducer 0-700 PSI

Special Price $123.58 Regular Price $142.12
Out of stock
SKU
336078352
The Daikin-McQuay 336078352 PSR Transducer is the best product that are used to measure pressure with a pressure range of 0-700 PSI. using state-of-art piezoresistive technology, it transforms mechanical pressure into electrical signal for accurate measurement of pressures in applications such as HVAC and industrial processes. The construction of the transducer is high-quality, which makes it possible to work under harsh conditions. Its advantages are better accuracy and reliability, dedicated pressure check process which helps in enhancing system efficiency and reducing failures if any. The use of Intel Accuracy for pressure control and makes it a tool for engineers as well as maintenance professionals in search of an effective pressure management system.
https://www.partshnc.com/media/catalog/product/3/3/336078352.jpg

Specifications

  • Type: PSR Transducer
  • Pressure Range: 0-700 PSI
Write Your Own Review
You're reviewing:Daikin-McQuay 336078352 PSR Transducer 0-700 PSI
Your Rating
Customer Questions
What maintenance is required for the Daikin-McQuay 336078352 PSR Transducer?

Regularly check connections and wiring for corrosion or loosening. Keep the transducer clean from dust and fluid residues. Calibrate periodically to ensure accurate readings. Handling carefully prevents pressure measurement errors and system malfunctions.

What are common issues with the Daikin-McQuay 336078352 PSR Transducer?

  • Inaccurate or fluctuating pressure readings.
  • Electrical connection failures.
  • Sensor drift or calibration errors.
  • Intermittent signal loss.

Installation Steps

Step 1: Turn off power and depressurize the HVAC system before installation.

Step 2: Verify compatibility of the PSR transducer port and pressure range.

Step 3: Mount transducer securely on the designated pressure port using proper fittings.

Step 4: Connect electrical wiring according to manufacturer wiring diagram and label terminals.

Step 5: Restore power, check for leaks, and calibrate sensor output if required.