Facebook Pixel

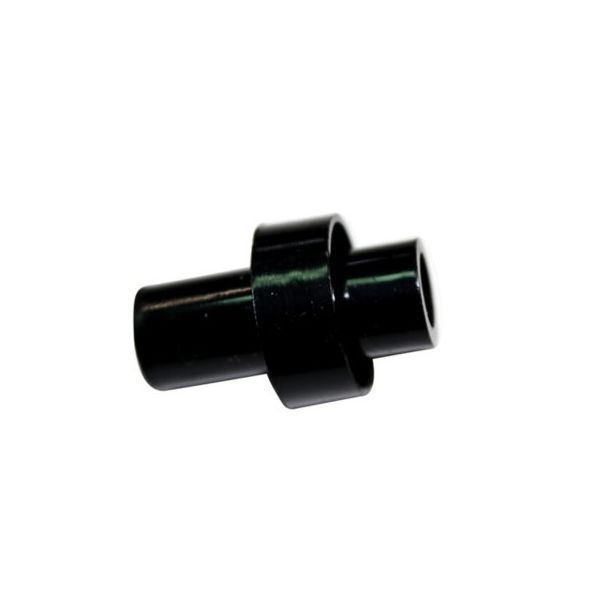
Carrier 328264-401 Connector 3/4" X 1/2"

Special Price $4.82 Regular Price $6.51
In stock
SKU
328264-401
Carrier 328264-401 Connector (3/4” x 1/2”) is a Carrier HVAC part replacement part meant for Carrier HVAC systems. It plays the role of a connector and interconnects two hoses or pipes of different sizes safely. This connector is usually made of strong plastic and assuress perfect seal against leakage. The Connector delivers reliable connection and this has several benefits as will be discussed here. A sealed connection safeguards your HVAC system against refrigerant or condensate leakage that cuts the efficiency of your system and may harm parts of your HVAC system. Seals and ensures correct refrigerant or condensate passing through your HVAC system thereby enhancing functionality.
Manufacturer:

https://www.partshnc.com/media/catalog/product/3/2/328264-401_carrier_partshnc.jpg

Specifications

  • Length: 1.5 "
  • Width: 0.75 "
  • Height: 0.75 "
  • Weight: 0.02lbs
  • Type: Connector
  • Color: Black
  • Material: Plastic
Manufacturer Name: Carrier
Product Number: 328264-401
OEM Part Number: 328264-401
Product Description: Connector 3/4"X1/2"
Weight:0.02lbs/9.07g

Choose the best HVAC equipment parts and supplies from PartsHnC!

  • Same Day Shipping

  • Best Quality And Best Price

  • Wide Range of Inventory

  • Best Customer Service

Have More Questions or Need Help to Place The Order?
Reach us at (866)773-0907 or [email protected]

Write Your Own Review
You're reviewing:Carrier 328264-401 Connector 3/4" X 1/2"
Your Rating
Customer Questions
What maintenance is required for the Carrier 328264-401 Connector?

Inspect the connector periodically for corrosion, leaks, or loose fittings. Clean contact surfaces during system servicing and ensure proper tightening to prevent pressure loss. Regular checks support ensure efficient performance and reduce unexpected failures.

What are common issues with the Carrier 328264-401 Connector?

  • Loose fitting connections causing air or refrigerant leaks.
  • Thread wear leading to poor sealing over time.
  • Corrosion from moisture exposure reducing efficiency.
  • Improper installation resulting in restricted flow or pressure imbalance.

Installation Steps

Step 1: Turn off system power and shut down HVAC systems unit to ensure safe servicing.

Step 2: Locate the tubing or drain line connection points for the lines.

Step 3: Remove old connector and clean both pipe ends to ensure proper sealing.

Step 4: Insert and align the new connector, ensuring correct fit on both diameters.

Step 5: Secure connection using proper fastening method.

Step 6: Restore power and test system for leaks and proper flow.